
Inspection Corrections – Safe Asbestos Siding Encapsulation in a Sunroom Addition
What happens when an inspection report turns up a material nobody wants to find? My client, Ezra was dealing with exactly this scenario regarding a sunroom addition built by a previous owner. The inspection report raised concerns about the original exterior wall material, and after the homeowner confirmed the presence of asbestos with lab testing, he had a plan. Rather than taking on a costly abatement, he decided that encapsulating the asbestos siding was the best route to eliminate future worry.
The Before: Home Inspection Reports and Asbestos Siding
As far as asbestos goes, you are generally OK to work around it as long as you aren’t removing it or making it friable by nailing or drilling into it. Friable means “easily crumbled or turned into powder,” which is how those tiny asbestos fibers become airborne and pose a hazard. That being said, you are allowed to remove or damage a very small area without a permit to send a physical sample to a lab for testing before work starts.
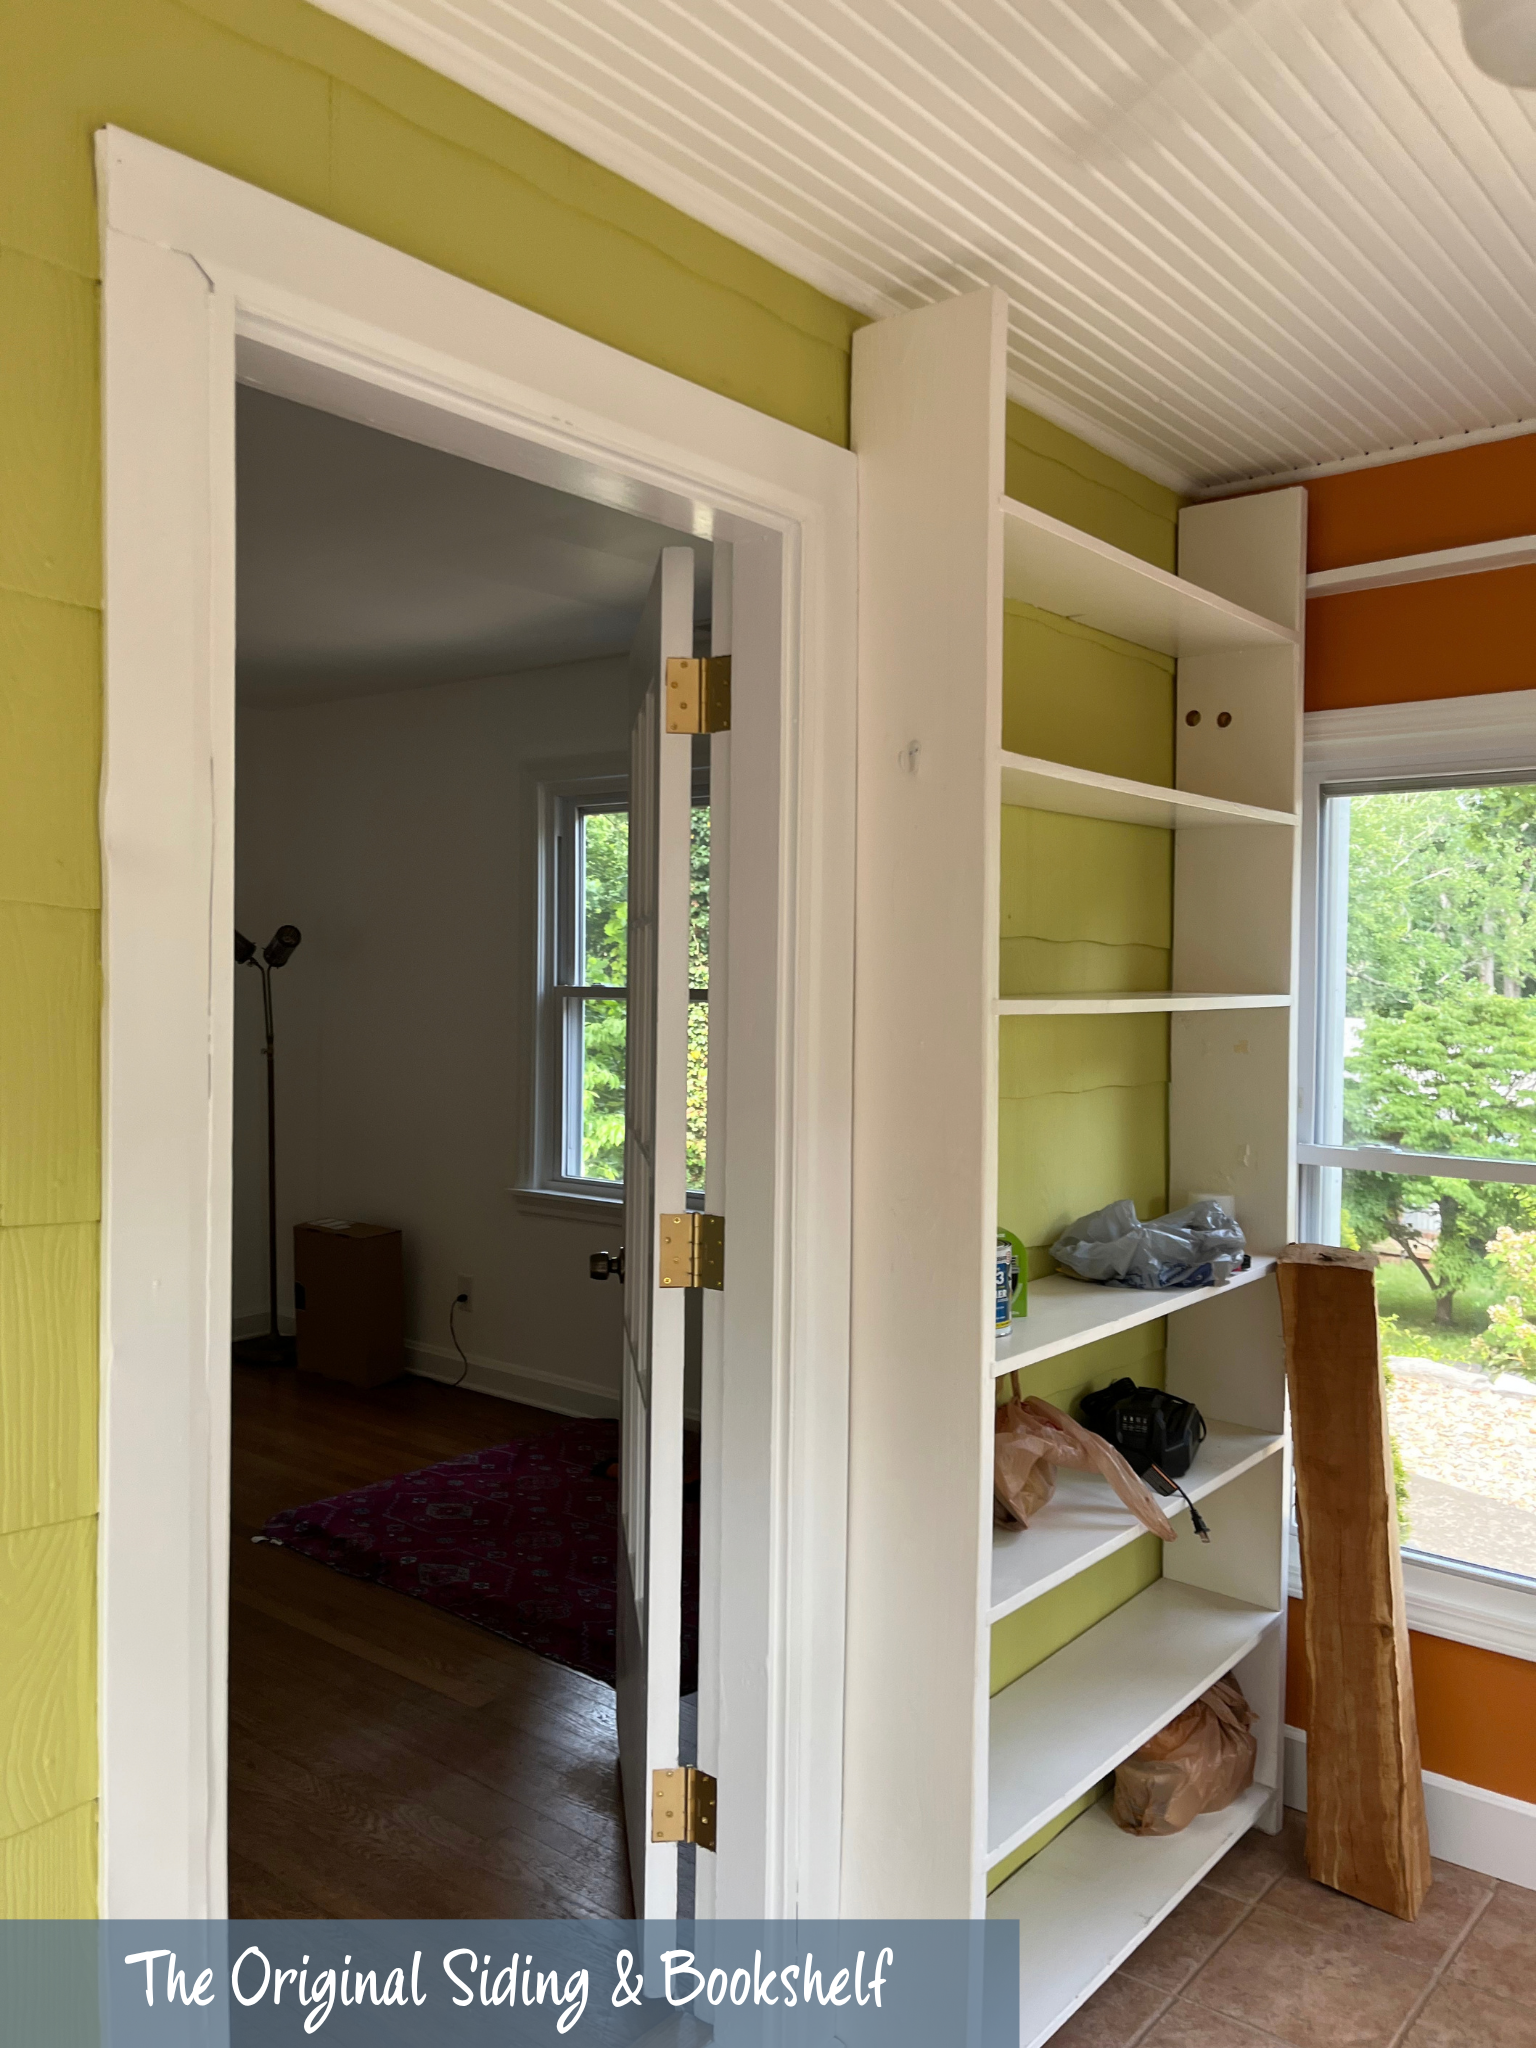
Since the test confirmed it was asbestos siding, my scope of work was clear: build a new wall in front of the existing one without disturbing the hazardous material behind it.
During the Build: Framing Over Asbestos and Custom Door Casing
Normally, when you’re trying to keep an original footprint during a remodel like this, furring strips are ideal to add a very thin structure for the drywall to be attached. However, this particular situation made that unrealistic for two reasons: first, the siding has a “cant”, or outward tilt, to the runs designed to shed water away from the house and would make it very difficult to achieve an even surface; and second, you have to attach furring strips directly to the substrate, which would make the asbestos siding friable and dangerous.
With those considerations in mind, I decided to use metal studs and track. This worked well and provided a nice, flat surface for the drywall installation. To keep the wall stable, I only had to make two attachments, and I worked with a respirator and my highest-level HEPA filtration vacuum to ensure absolute safety during that step.
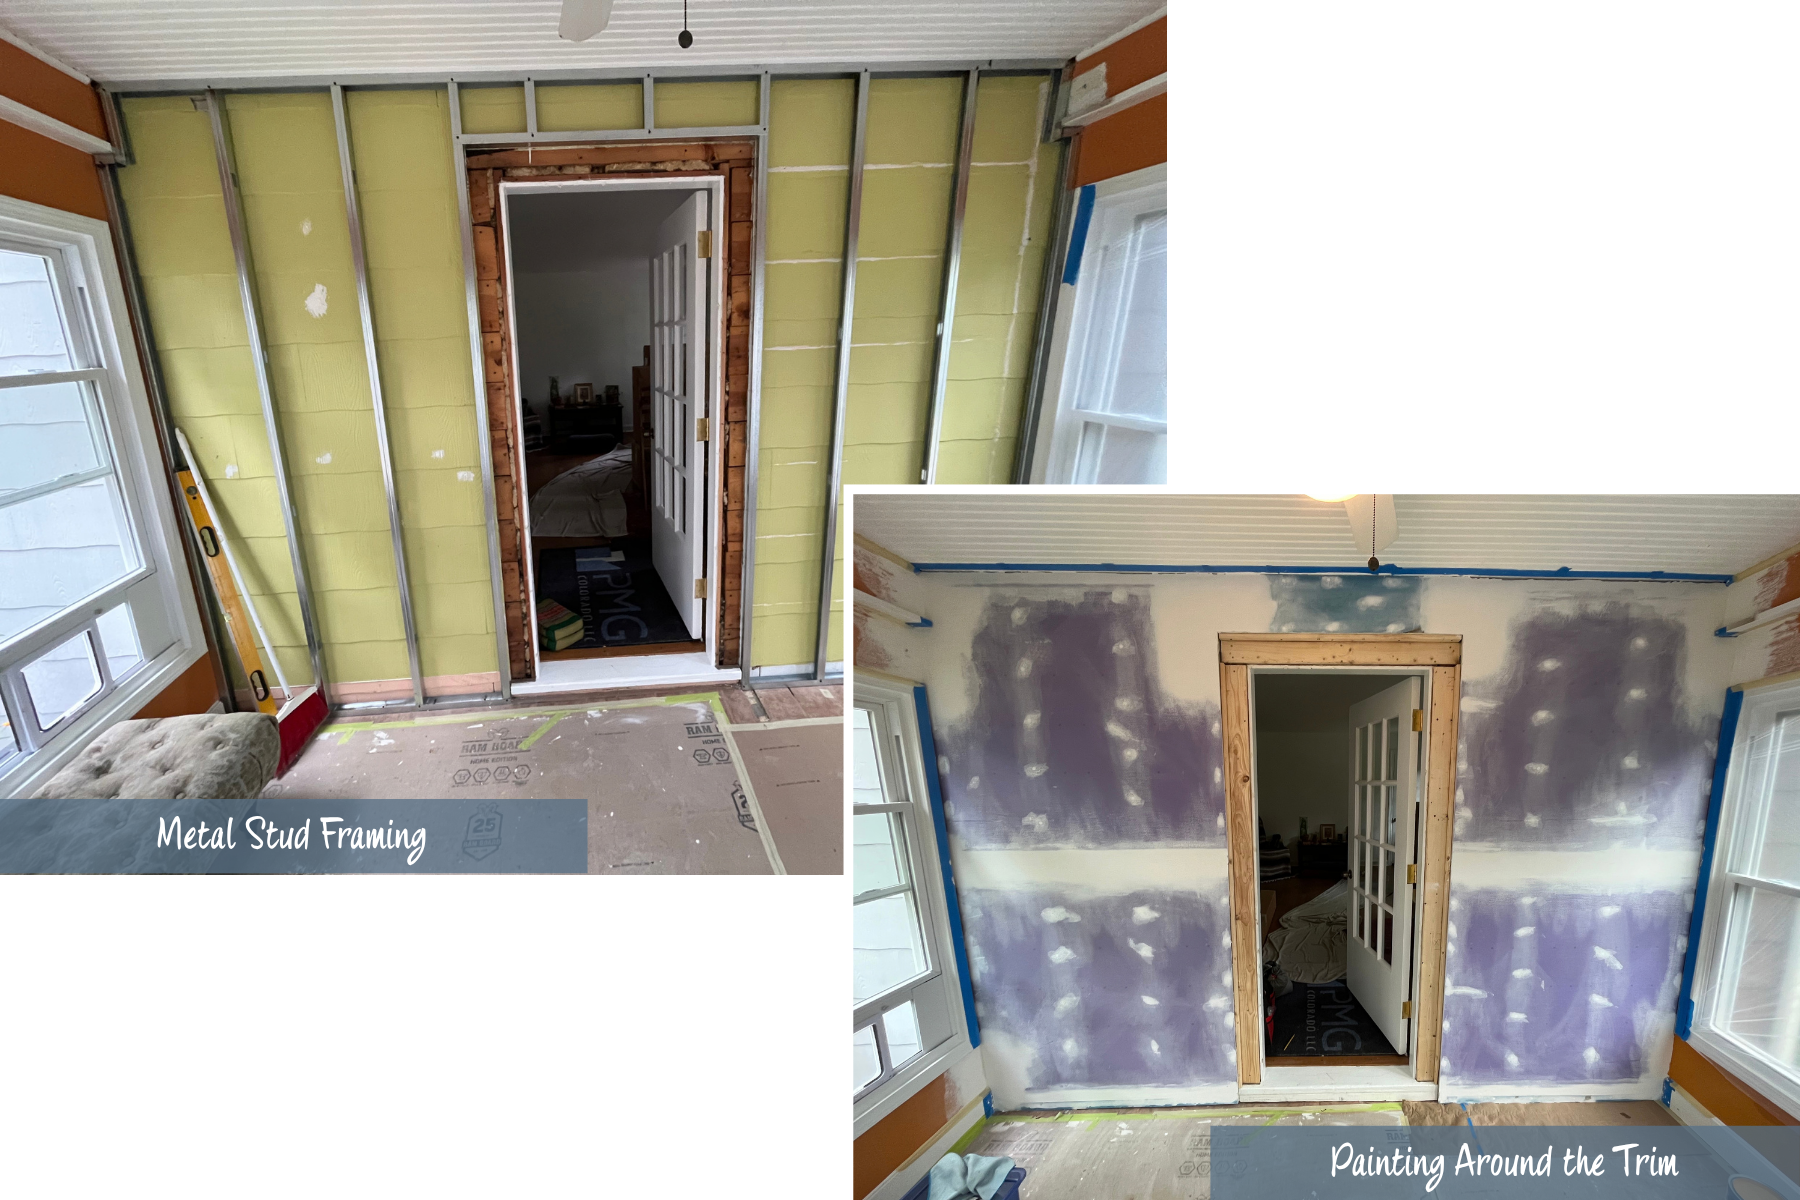
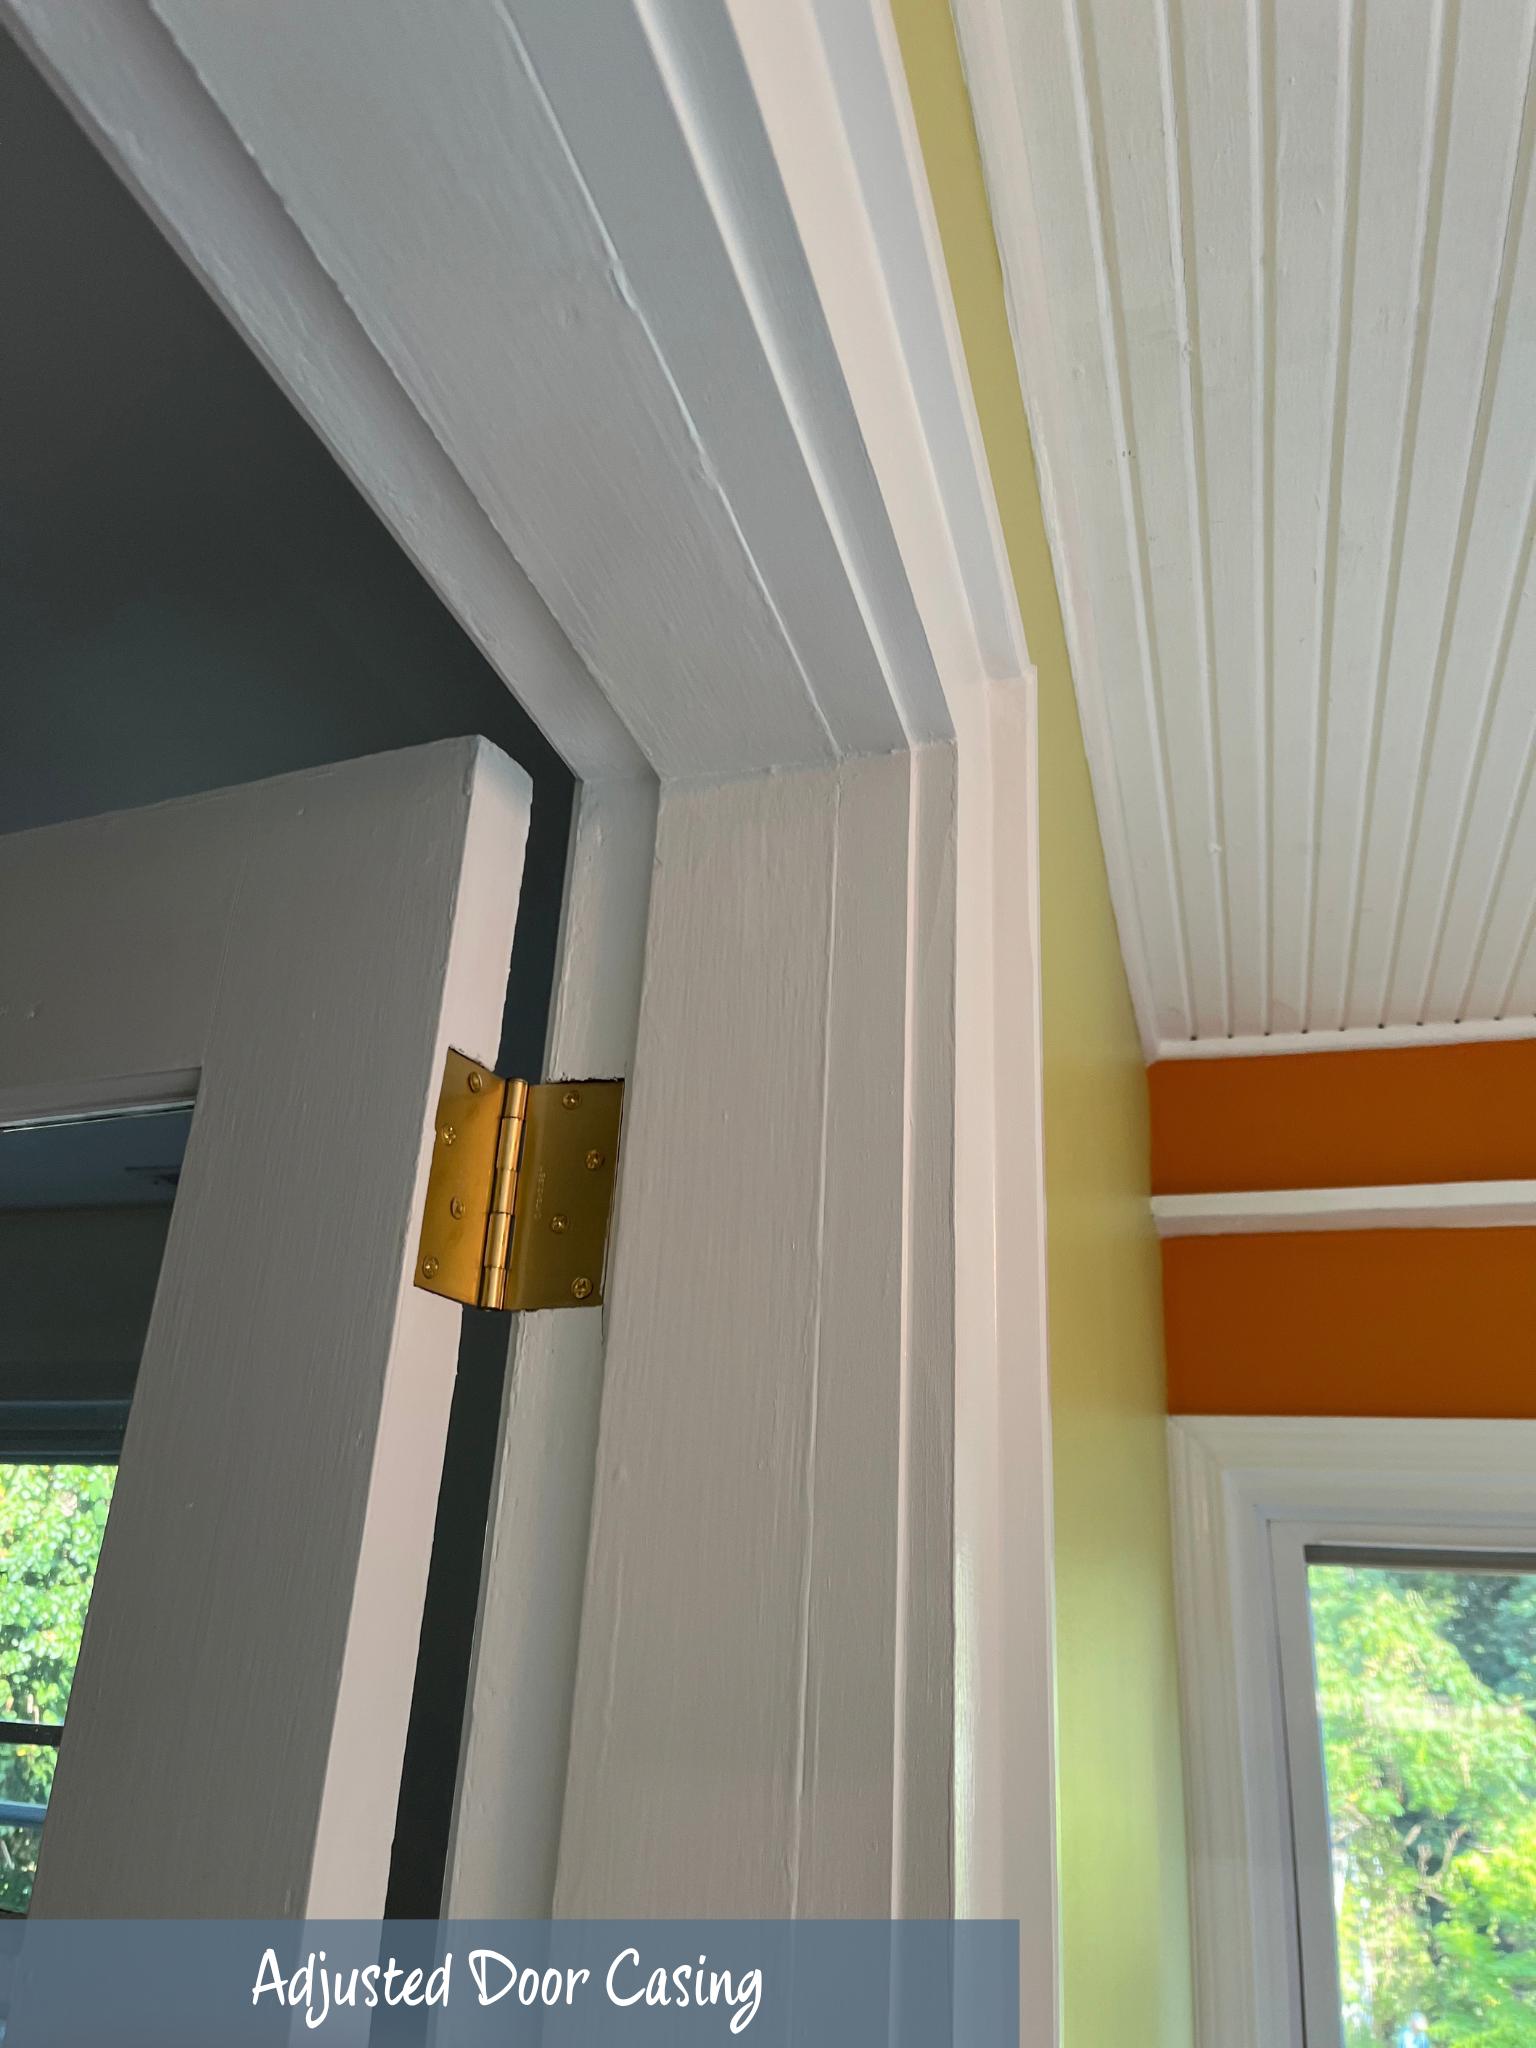
However, the depth of the metal studs created a new challenge: I now had to extend the door casing to align with the thicker wall depth. To resolve this, I ripped plywood and dimensional lumber to extend the jamb pieces and bridge the gap. Then, I used a backstop trim around the door casing trim to provide a spot for the baseboard to eventually die into.
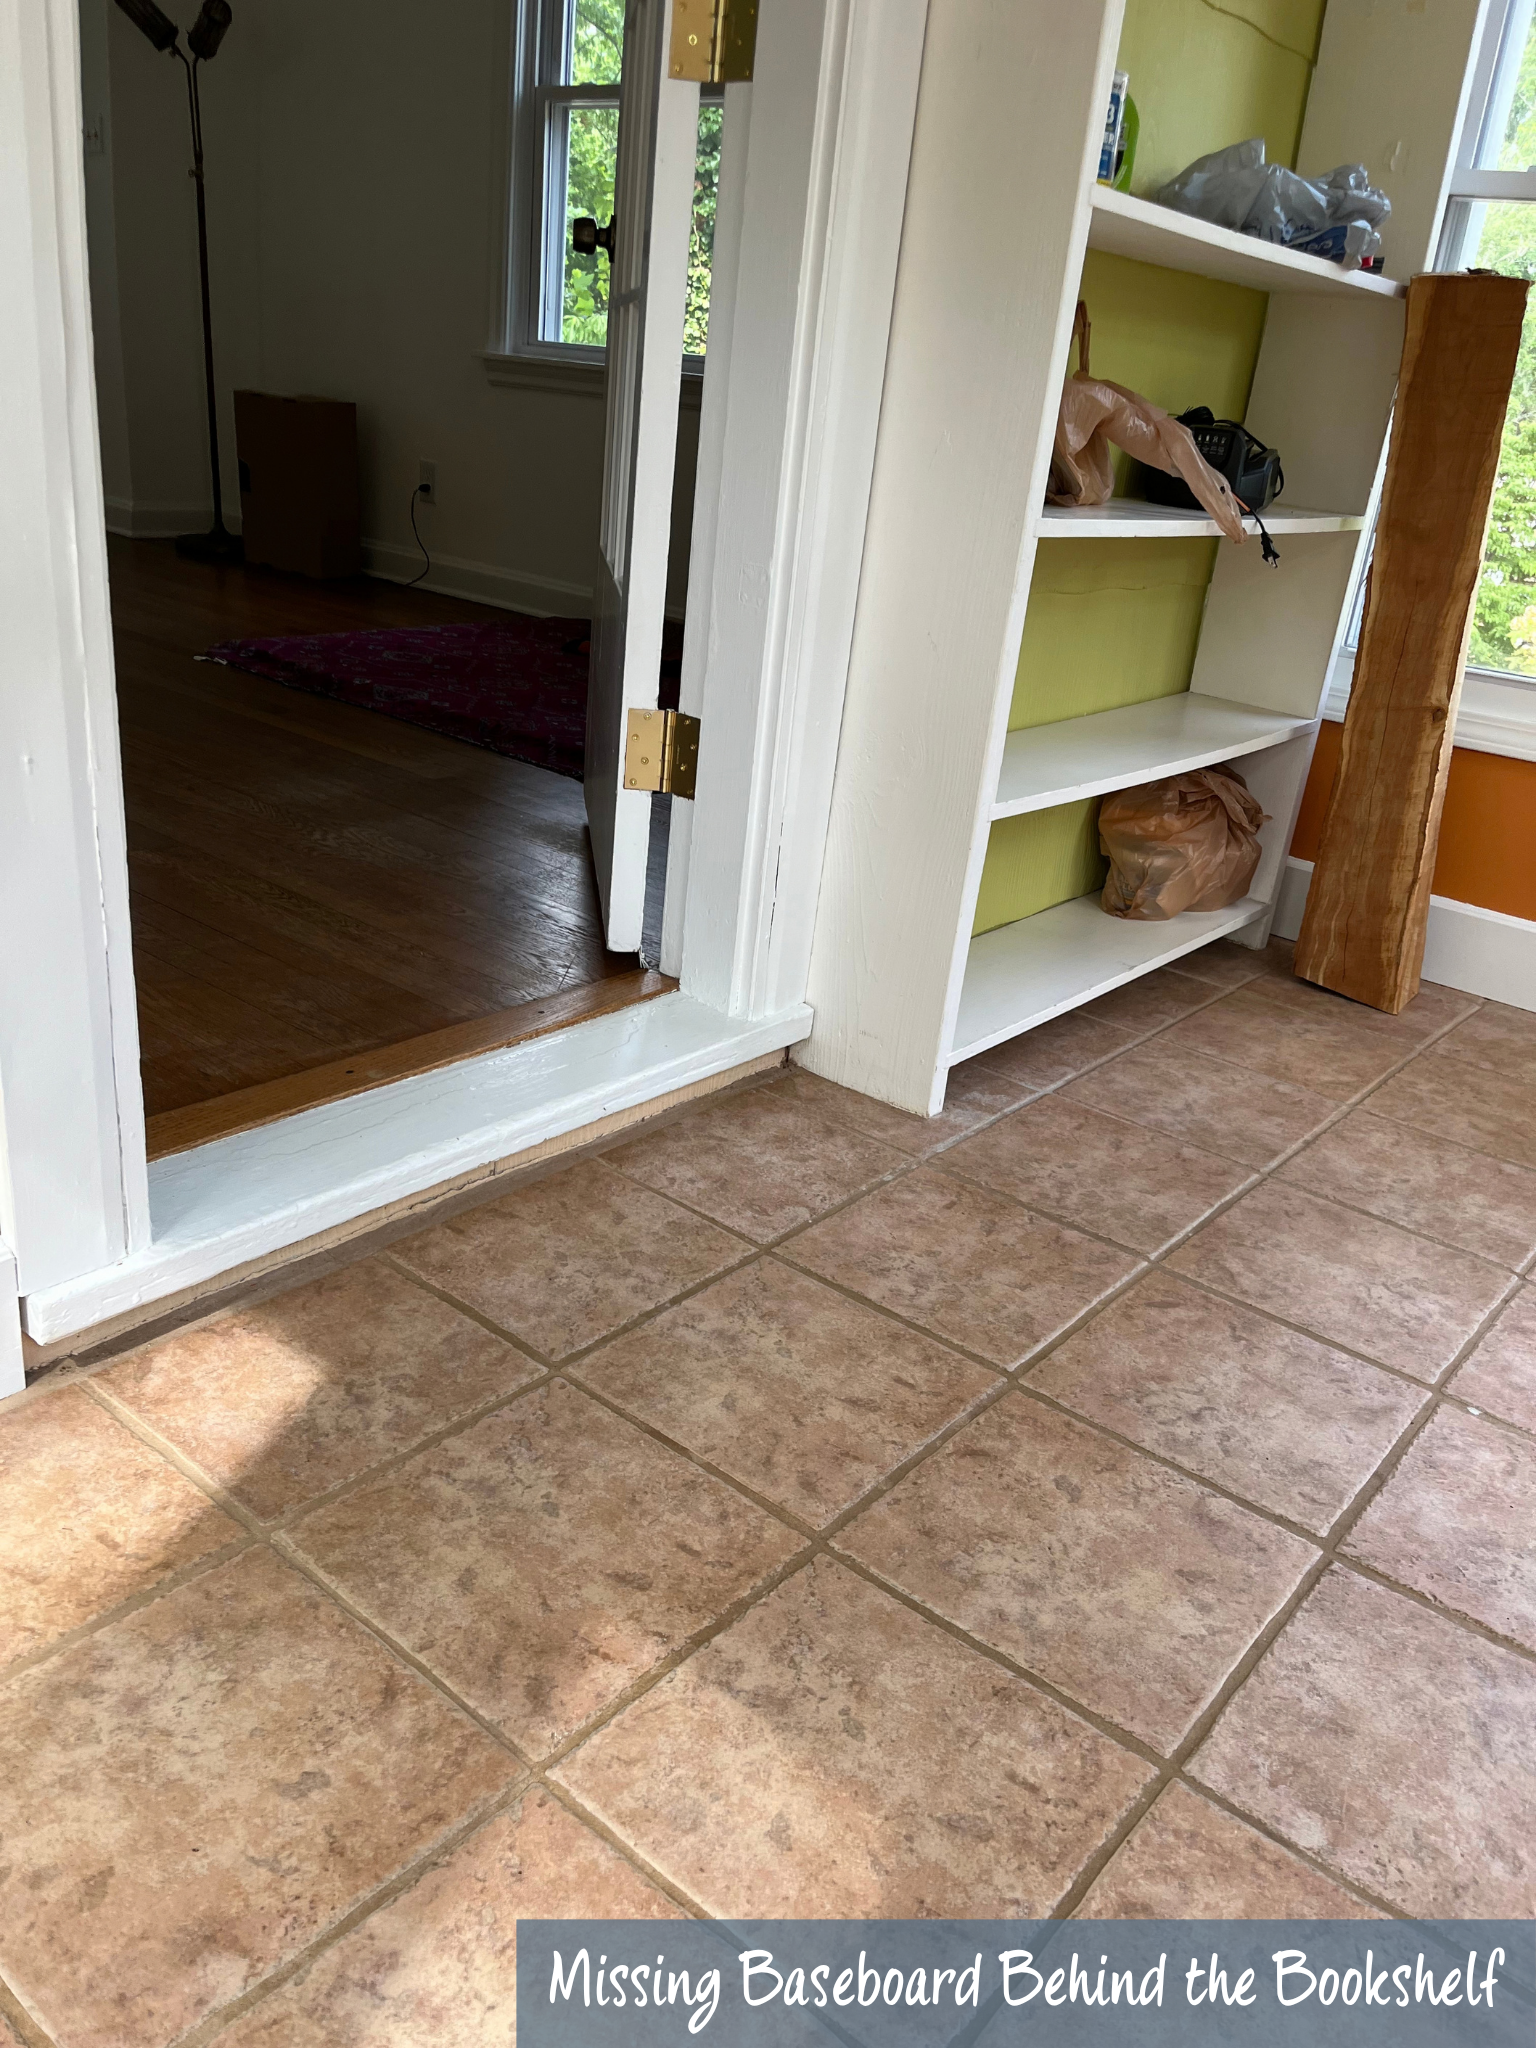
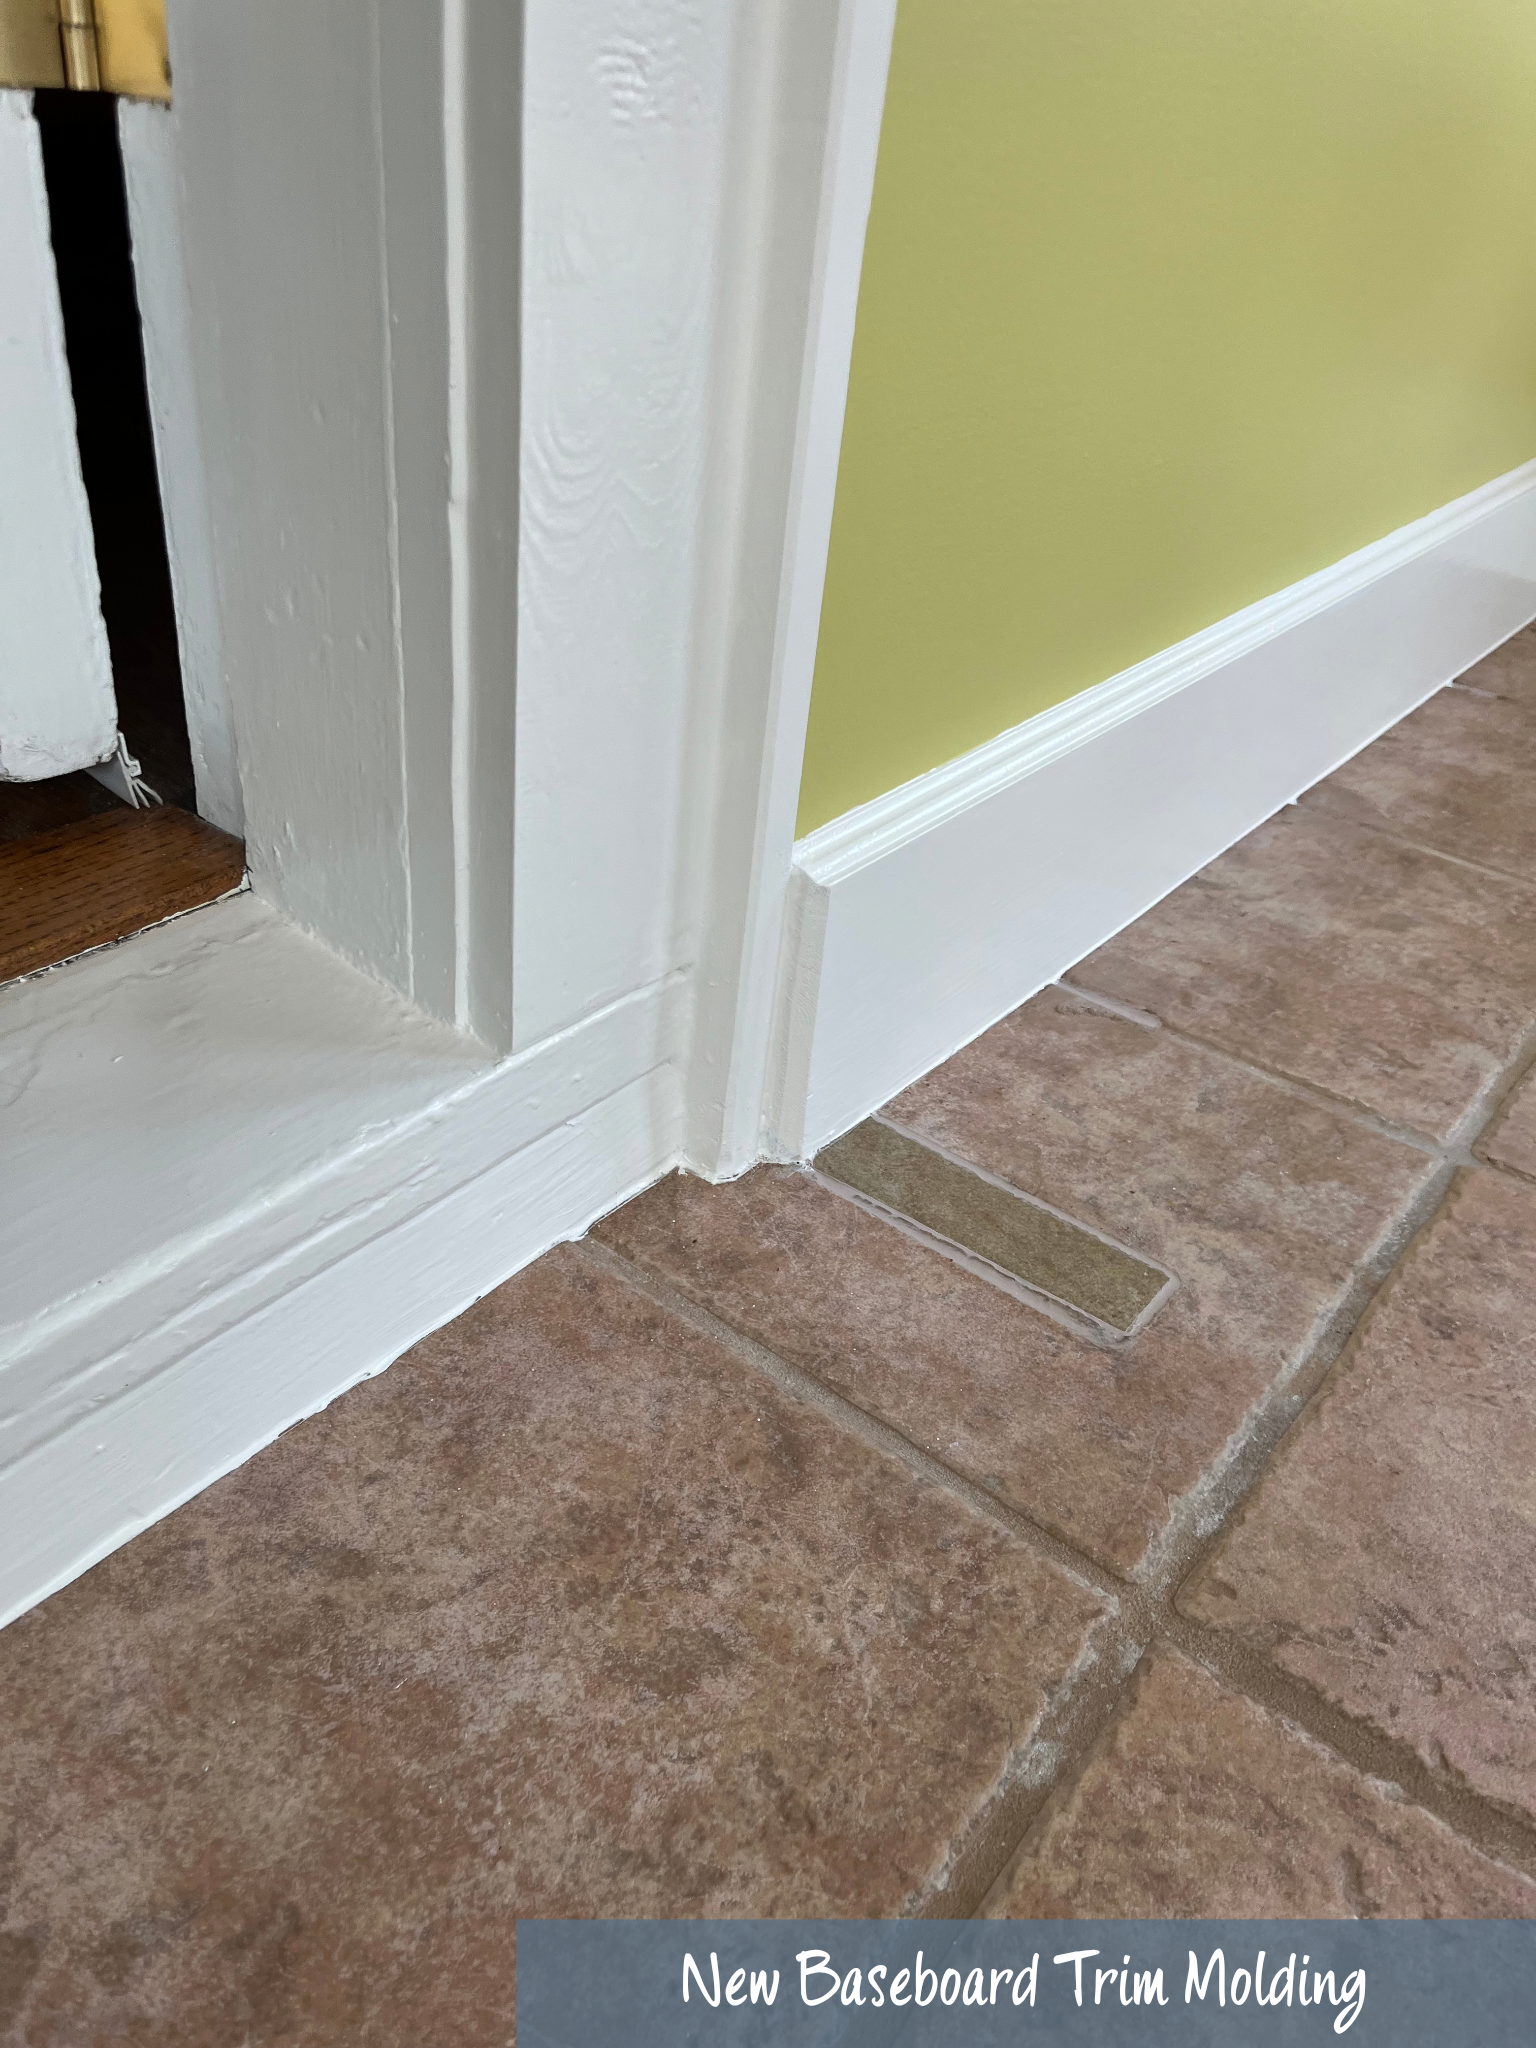
Since one wall had a bookshelf on it when I started the project, there was no baseboard on that side. The homeowners did not want to put a bookshelf back in that spot, but the existing trim style was not readily available.
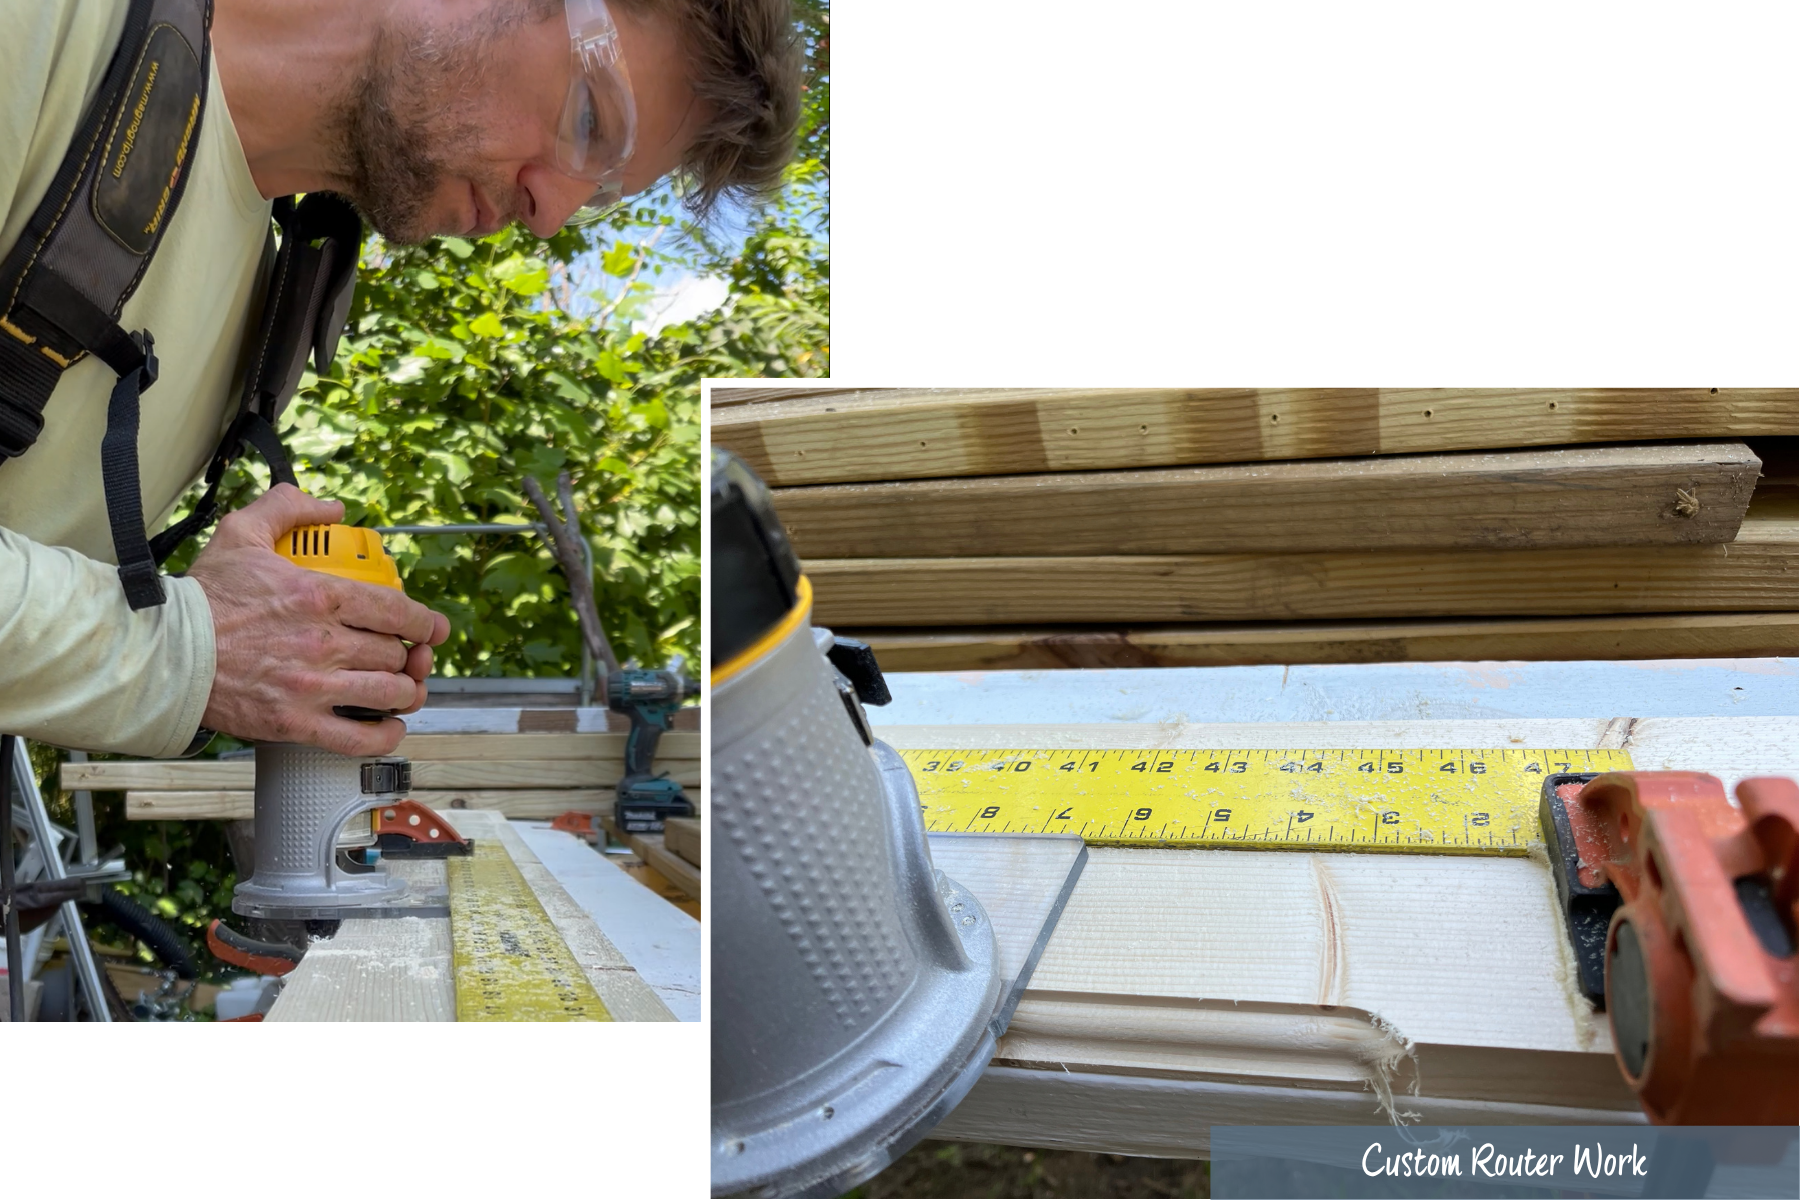
This gave me a chance to have a little fun with my router. I created a piece of custom millwork to serve as the new baseboard trim molding, matching the rest of the room perfectly without having to replace the trim in the entire space.
The After: Correcting Window Head Flashing for Lasting Peace of Mind
The other major inspection item this homeowner wanted to address was gaps in their window head flashing. At some point, the home’s old windows had been replaced with vinyl, and aluminum flashing was applied over the old trim to create a clean exterior look. However, part of the aluminum flashing against the house was not long enough, creating an entry point for water at the head of each window.
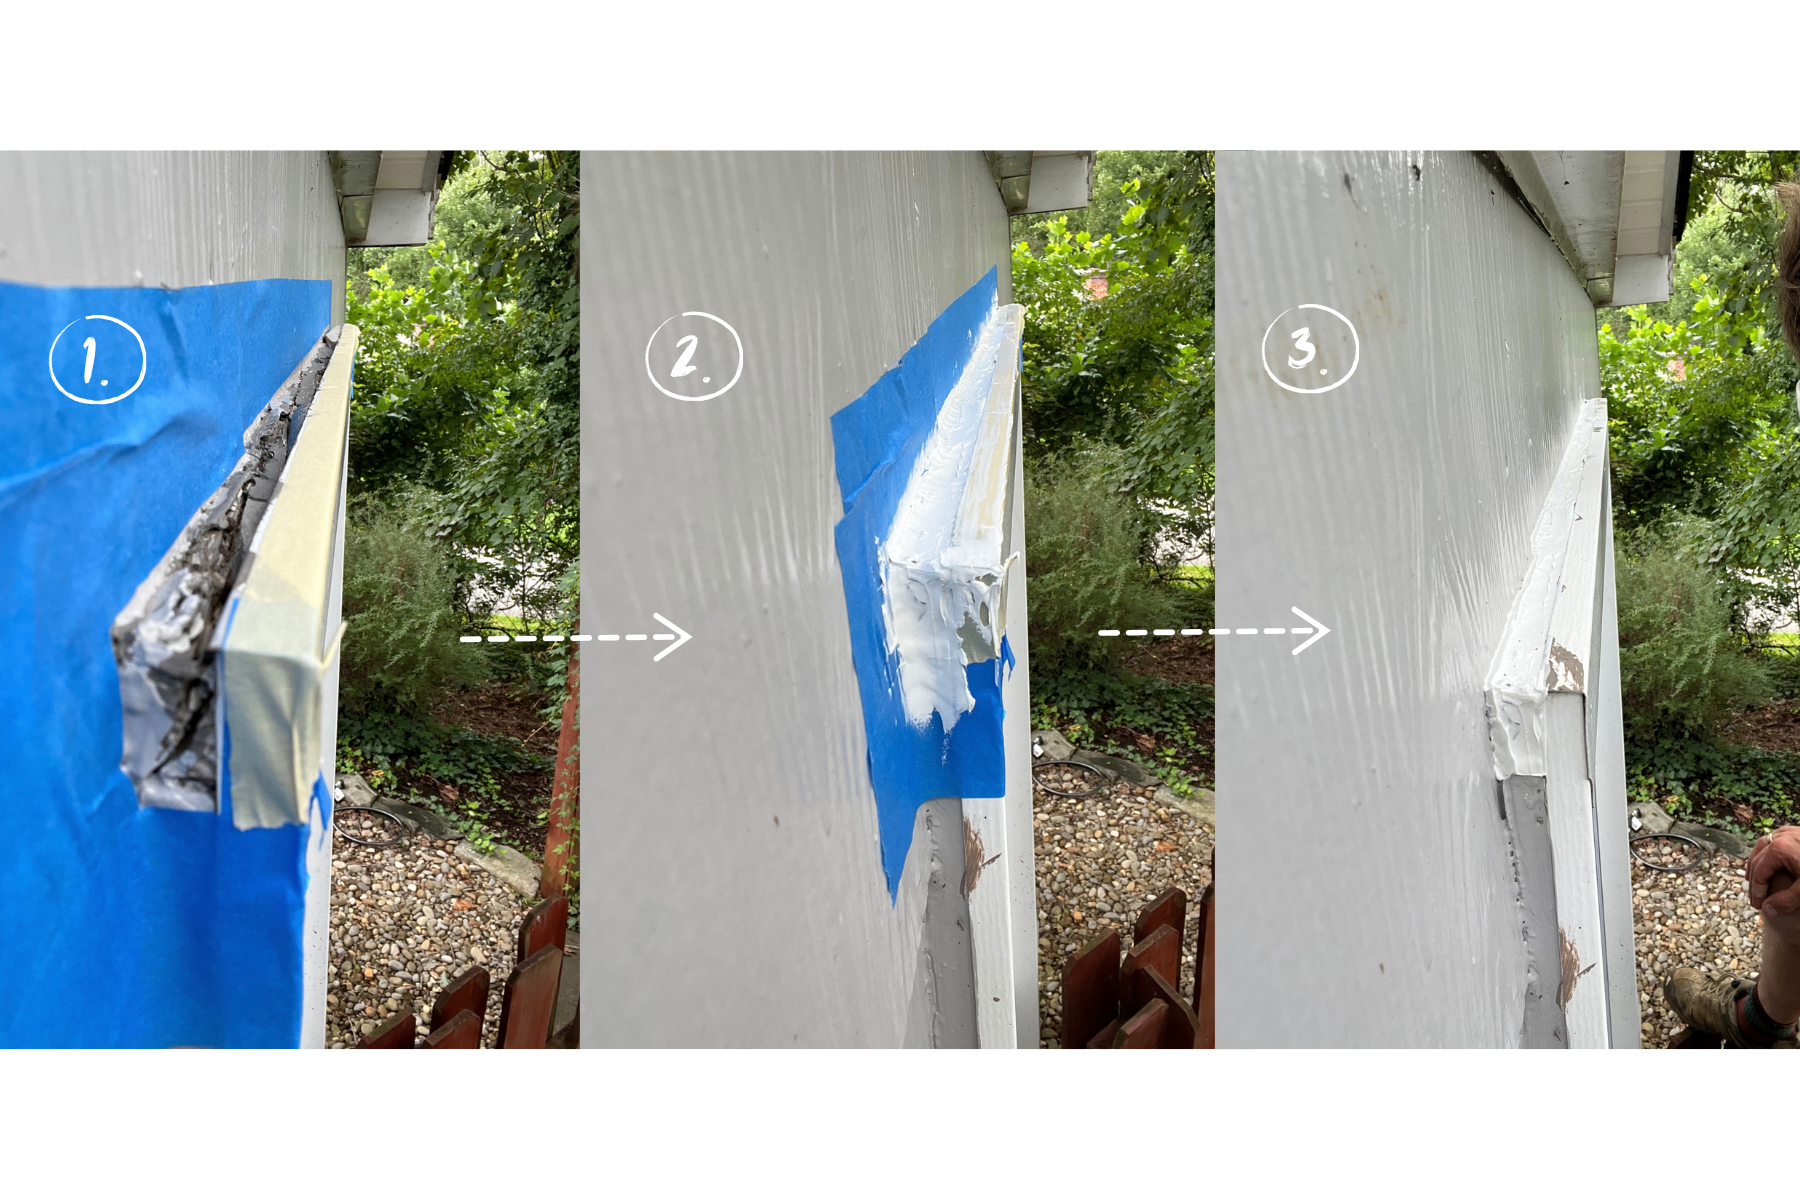
Each window was unique and required a tailored approach to fix. Some required wood filler pieces, others needed backer rod to fill in the space that was too wide for wood filler alone. In the end, they were all finished with a thick bead of OSI Quad Max sealant. This specific sealant is very durable and should provide long-lasting peace of mind for the homeowner.
Practical Solutions for Inspection Repairs
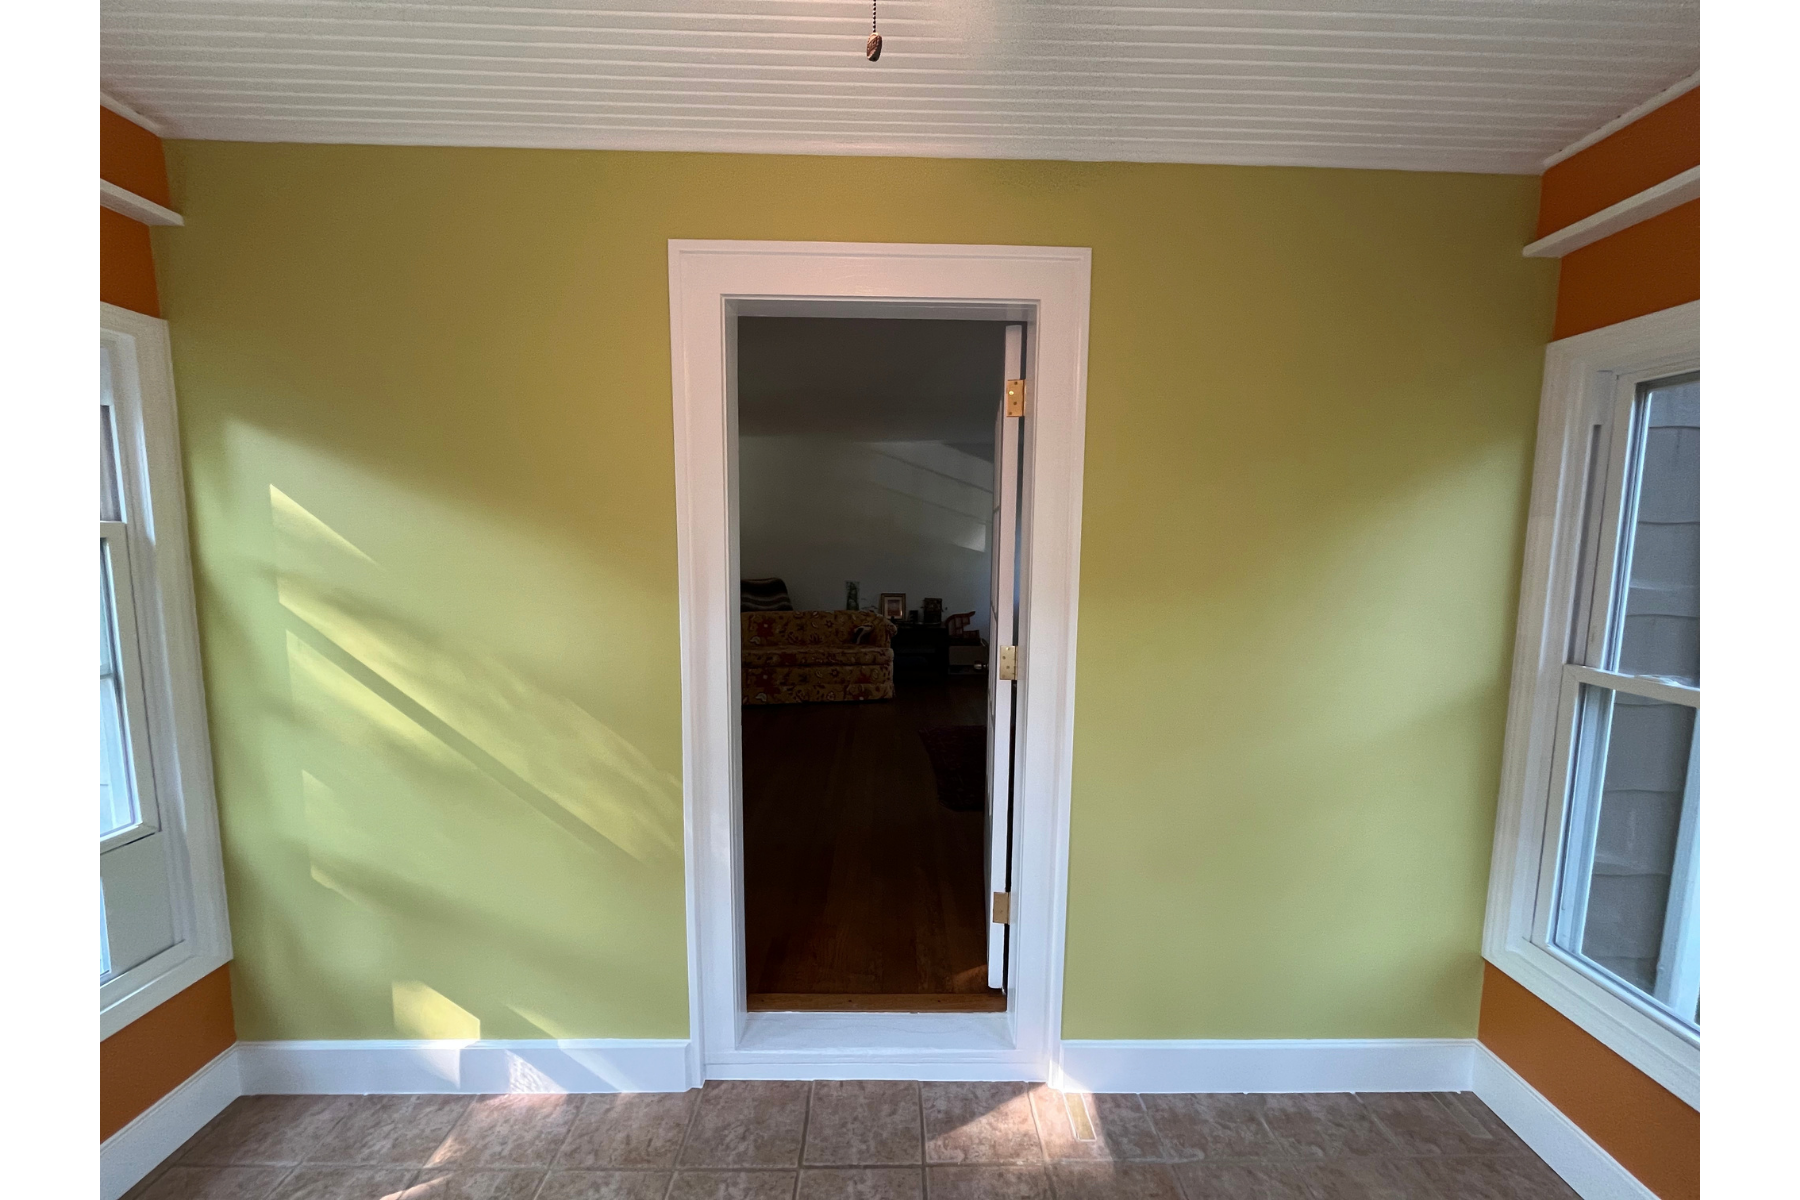
Resolving inspection report items doesn't always have to mean a full tear-out or expensive asbestos siding removal. With careful planning, you can find solutions that respect the property and address safety hazards correctly. Fortunately, we were able to do just that here. Care and craftsmanship came together to provide a beautiful new space that was completely safe and usable for Ezra.
If you are navigating an inspection report or need a practical repair approach for your home, please contact Politzki Services today to discuss how we can work together.