
Practical Pivots – Adapting a Bedroom Addition for a Growing Family
How do you keep up and make sure you have enough space for everyone as your family grows and your kids get bigger? Last year, my clients Hany & Keli reached out with exactly that question, and there was only one practical solution: a bedroom addition. Rather than expanding outwards and increasing the square footage of their home, they opted for dividing their existing living room space to include a new bedroom.
However, as with many construction projects, once things were getting finished, it became apparent that what they had envisioned didn’t quite work in reality. The space now felt too closed in and lacking natural light. So, I got to work making the necessary changes that left them happy and comfortable in their new space.
The Before: A Room Addition Within A Room
When families grow, the way a house functions has to adapt. A living room to bedroom conversion is a great way to maximize the square footage you already have, without the added cost of pouring a new foundation or building an exterior expansion.
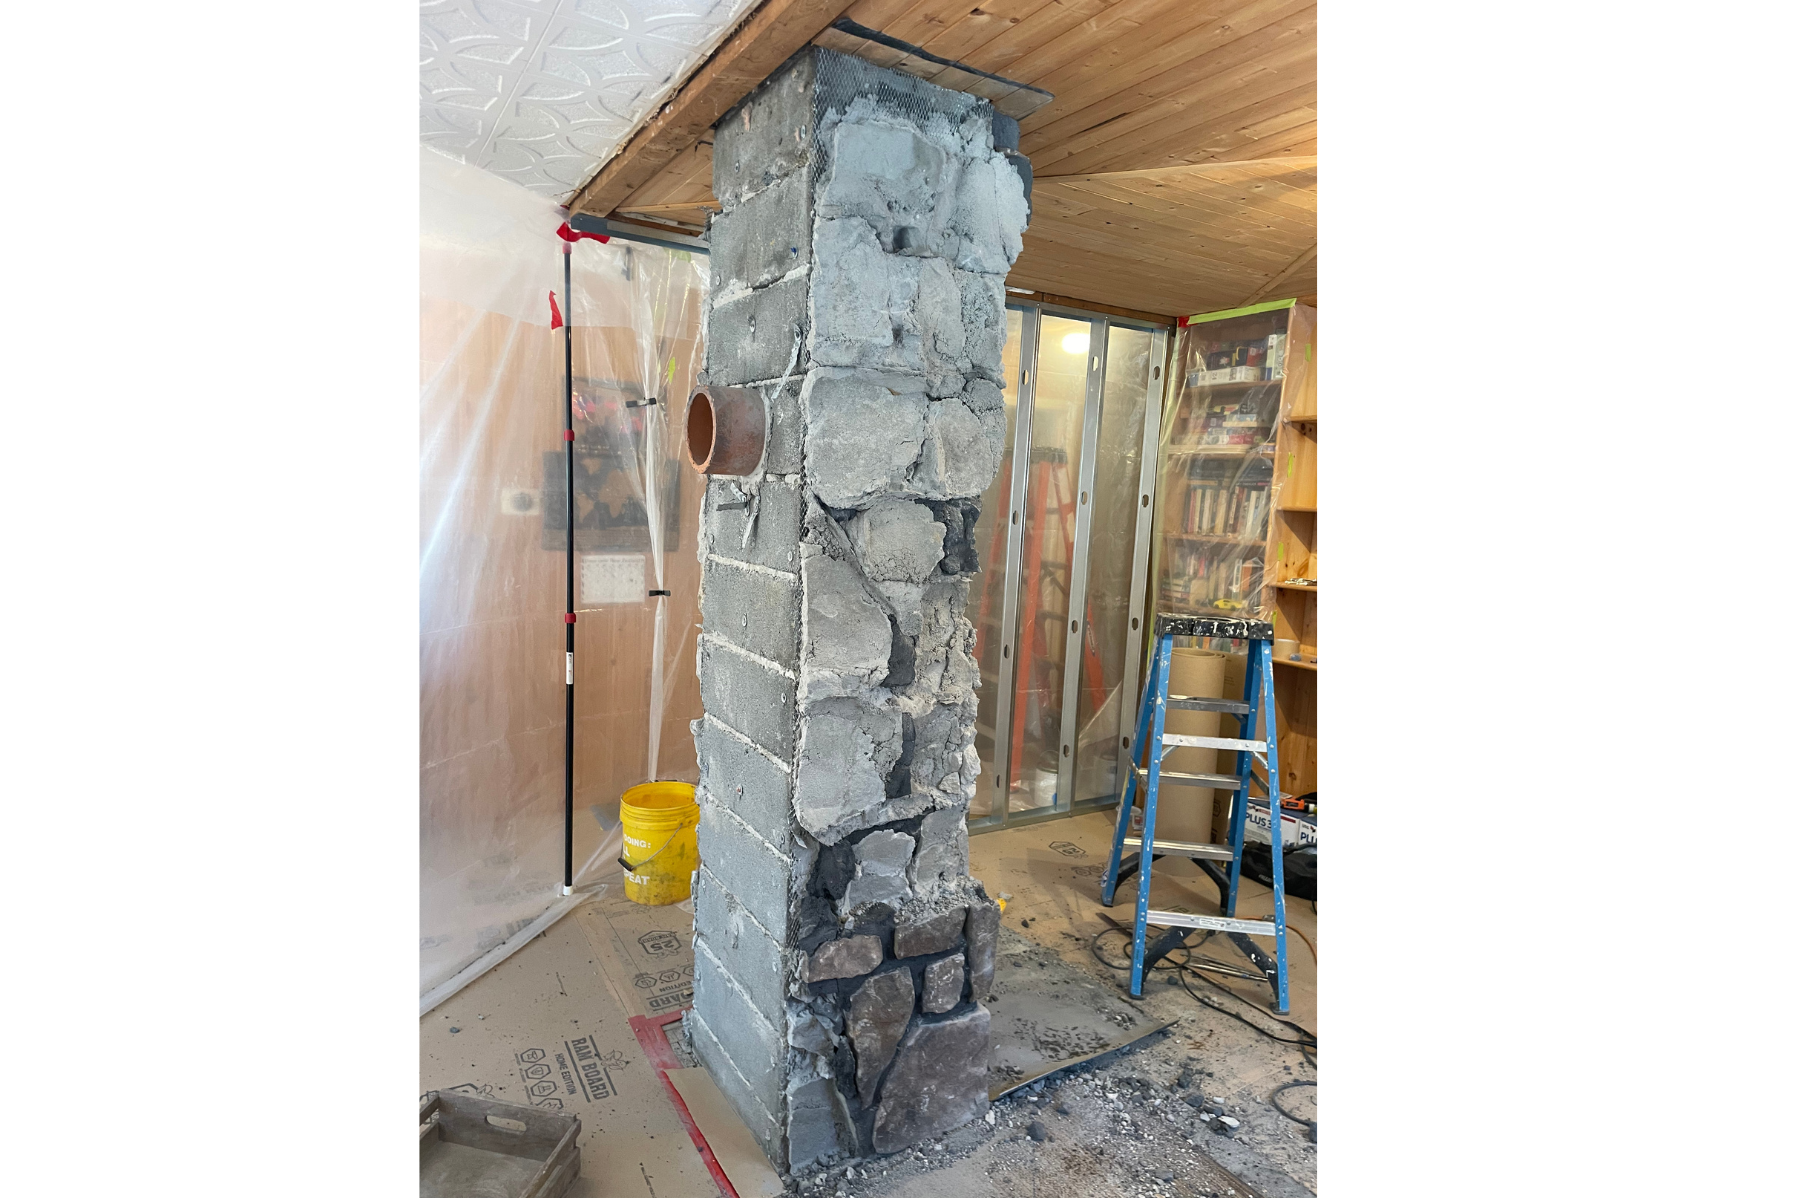
For a project like this bedroom addition, it always starts with setting up protection around the work area. I set up “walls” made of plastic sheeting and extension rods to control dust and debris, and laid Ram Board to protect the floors before beginning the demo. For their space, demo required the removal of a rock facade on a structural column so that the column could be framed in.
Taking care during the demolition process to make sure everything is clear and prepared before beginning the build is what makes the difference between a clean and professional final product, or something that requires constant changes and fixes. When starting big projects like a room addition, it can be hard to anticipate every potential impact until the walls actually go up.
I try to anticipate as much as I can, and ask questions to facilitate thinking things through. However, sometimes the reality of a completed space is just going to feel different than what was expected from the plans.
During the Build: Bedroom Addition Potential vs. Reality
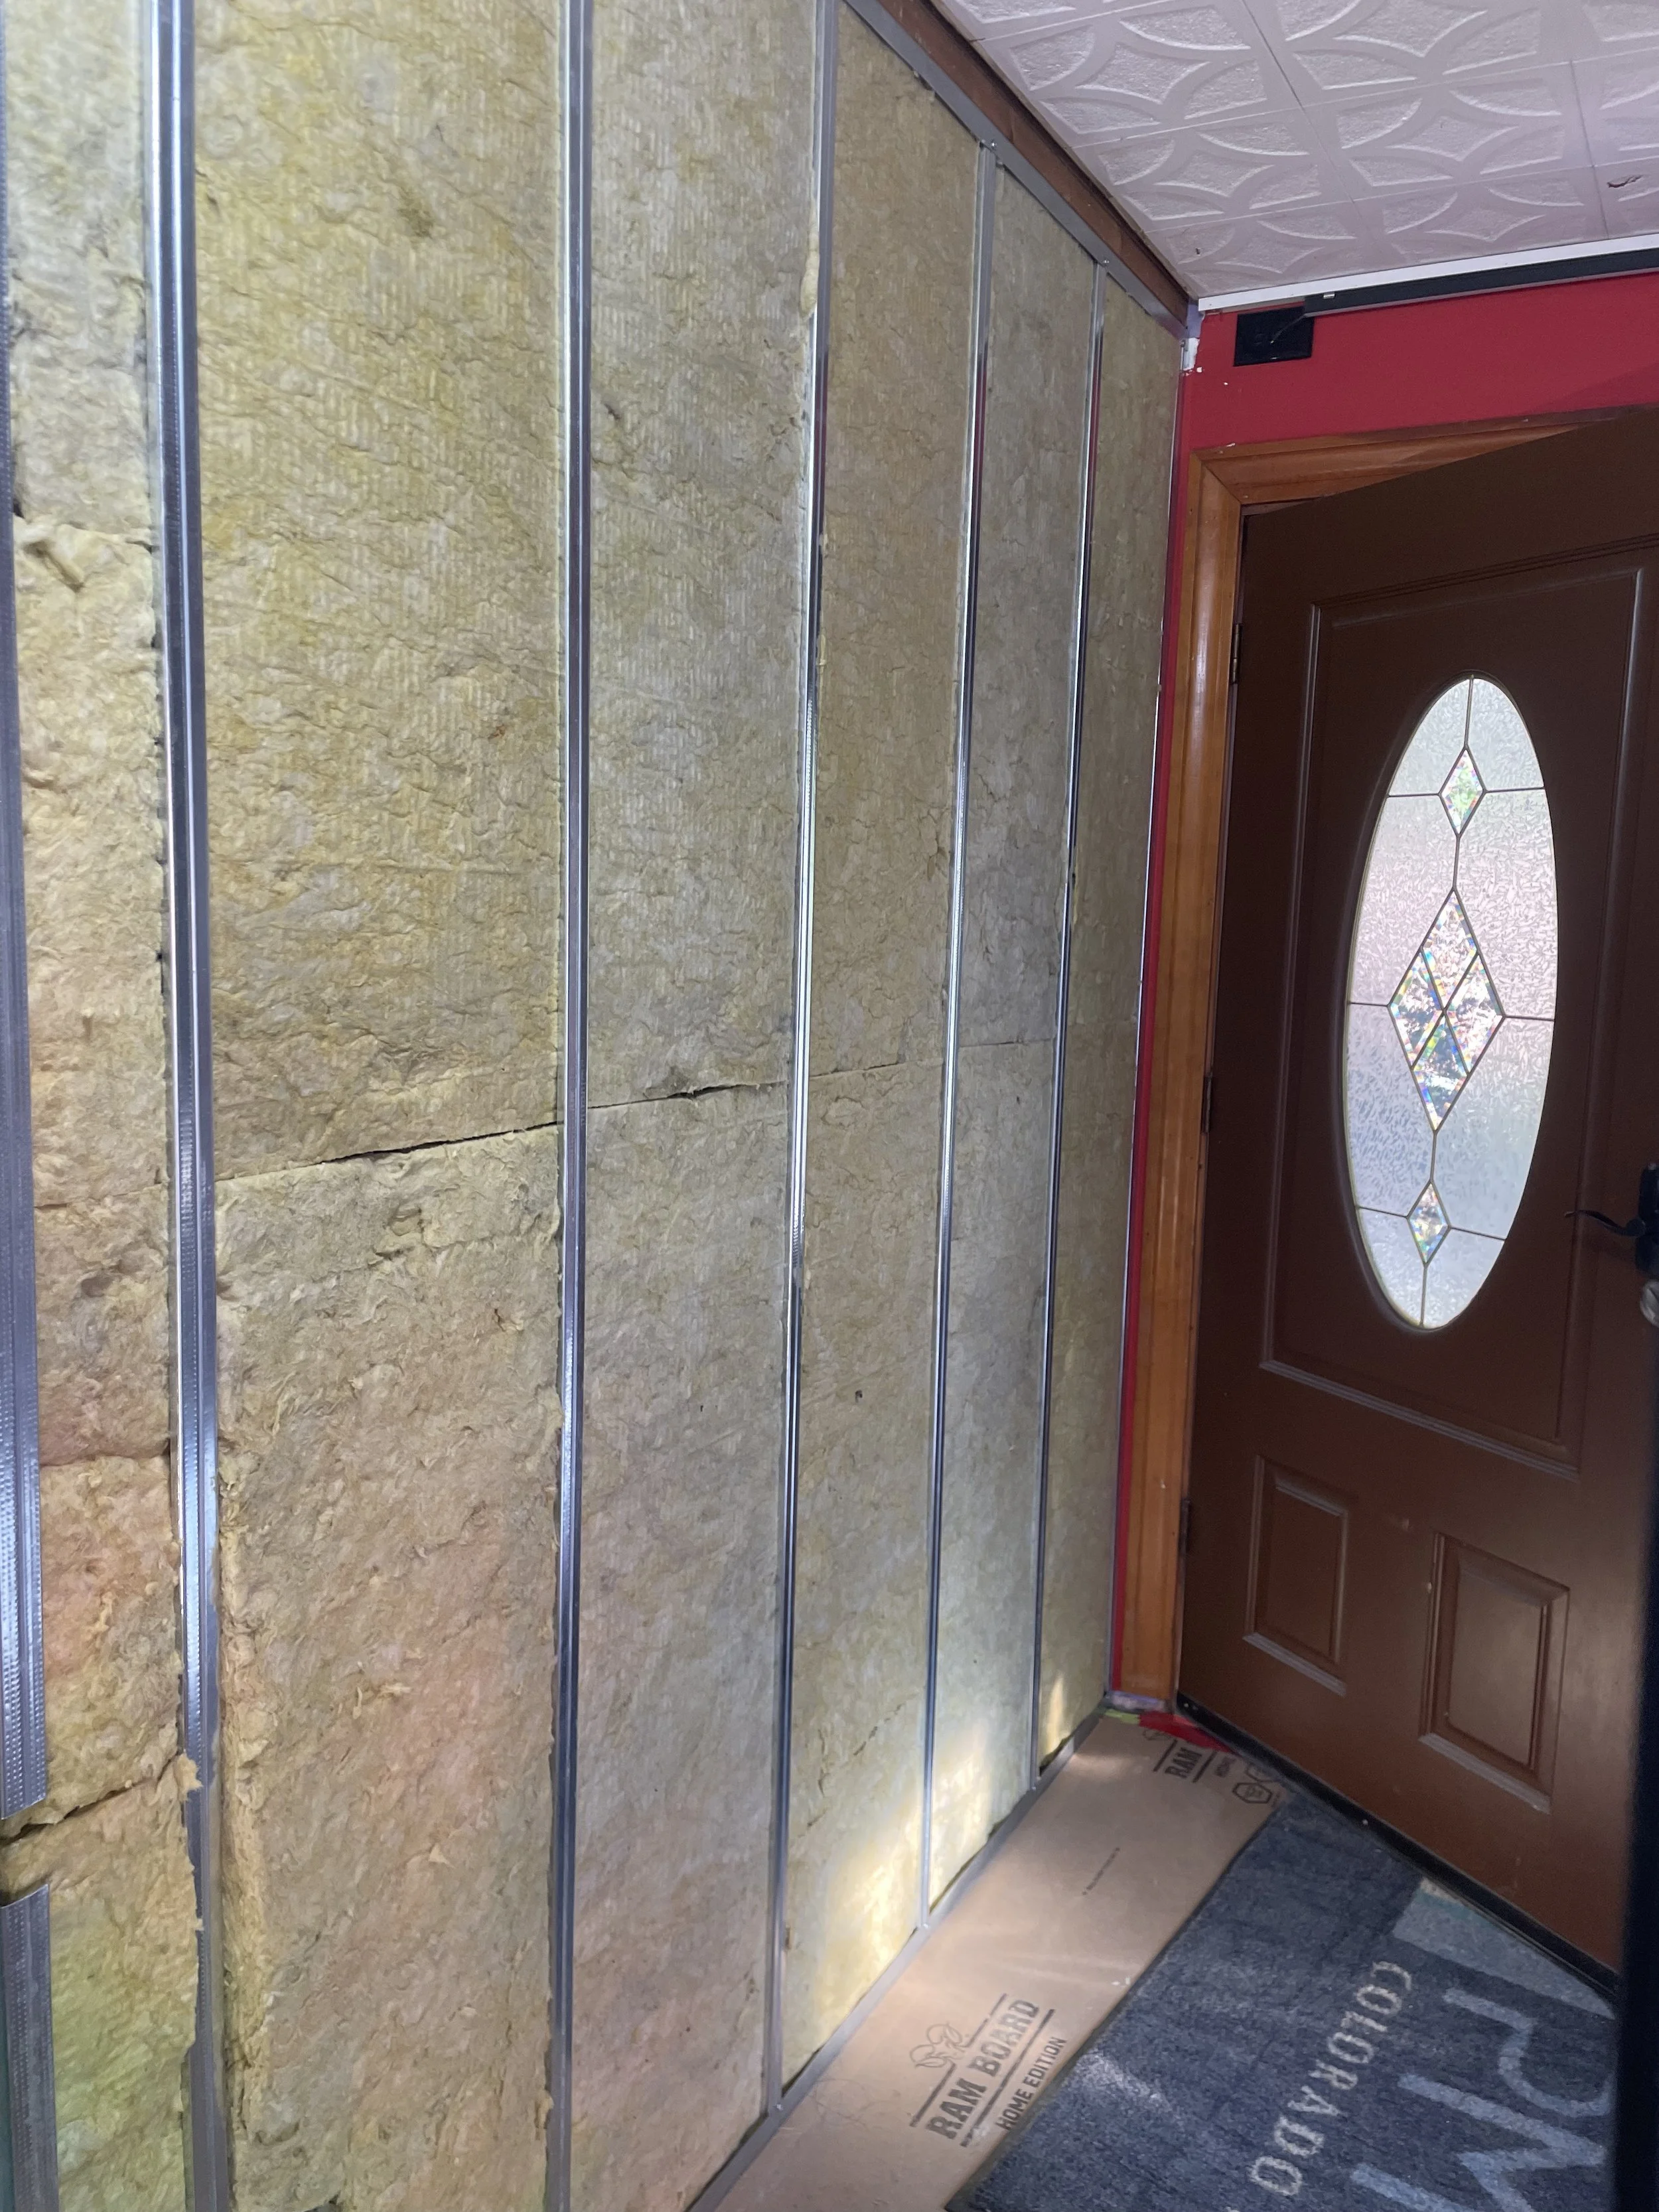
Once our space was prepped and cleaned, I was able to begin framing. Metal studs were used on this project for their dimensional reliability, meaning the walls were going to be perfectly flat when finished, and because they are mold and fire resistant.
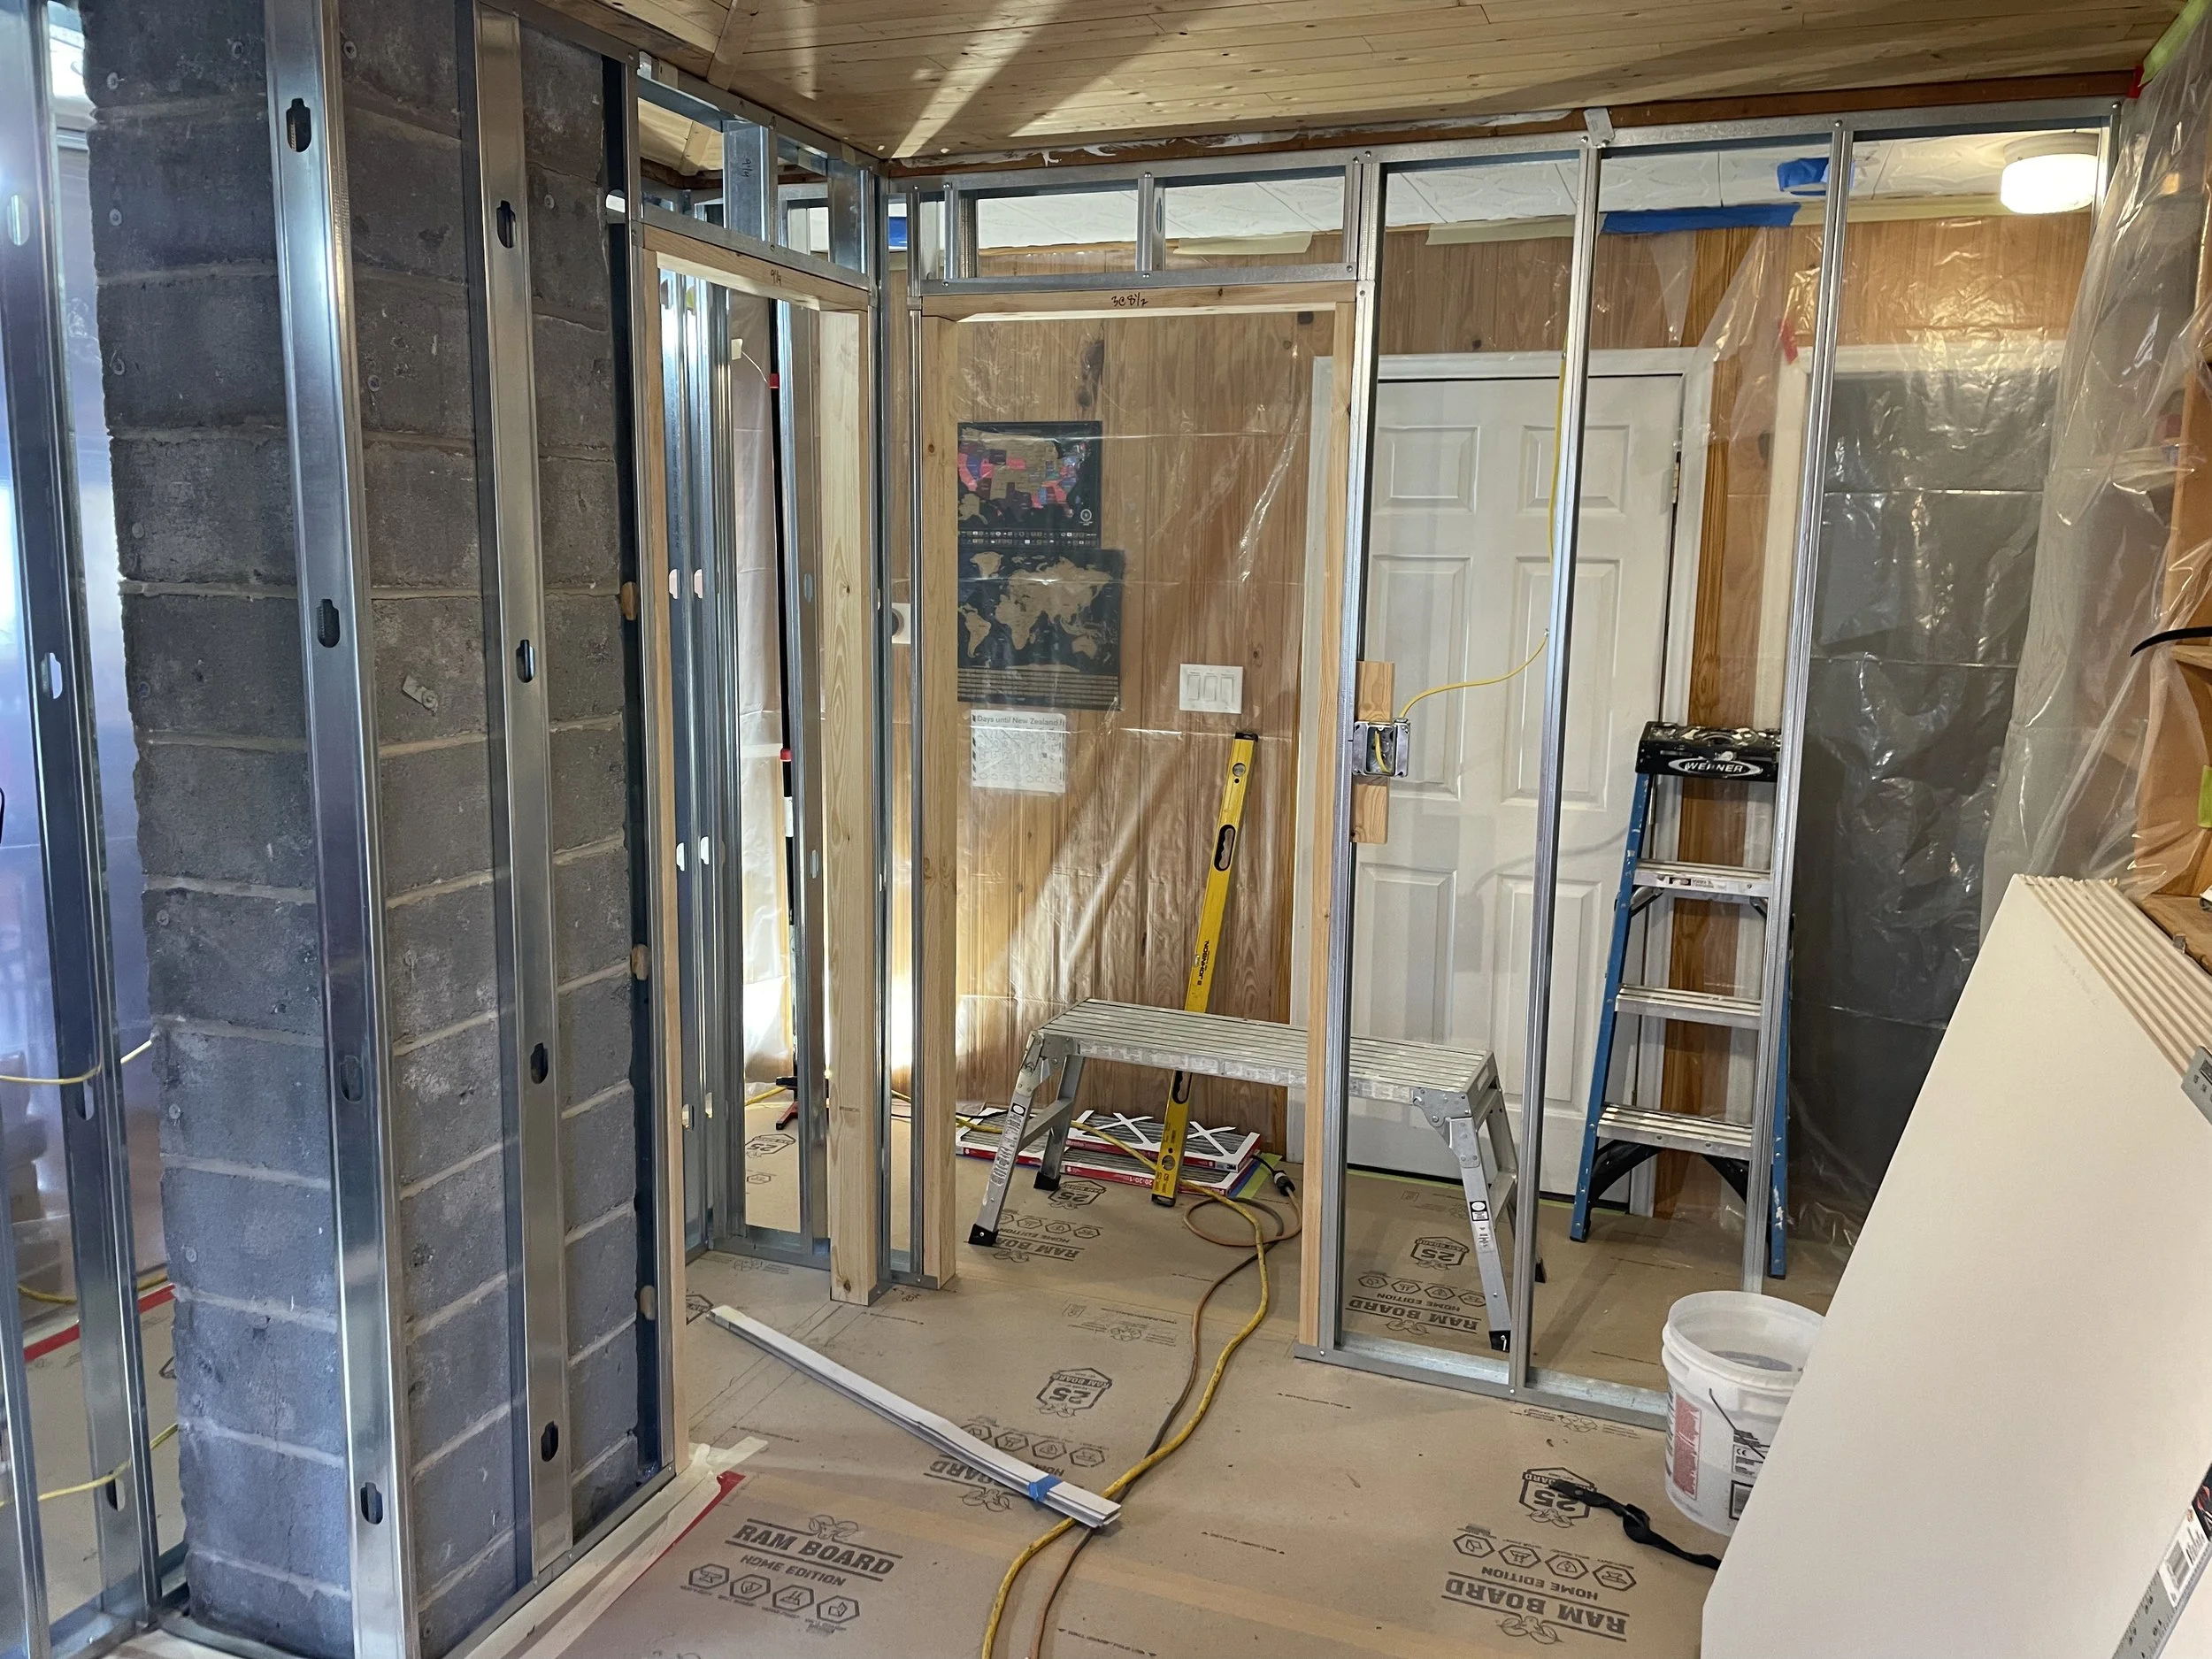
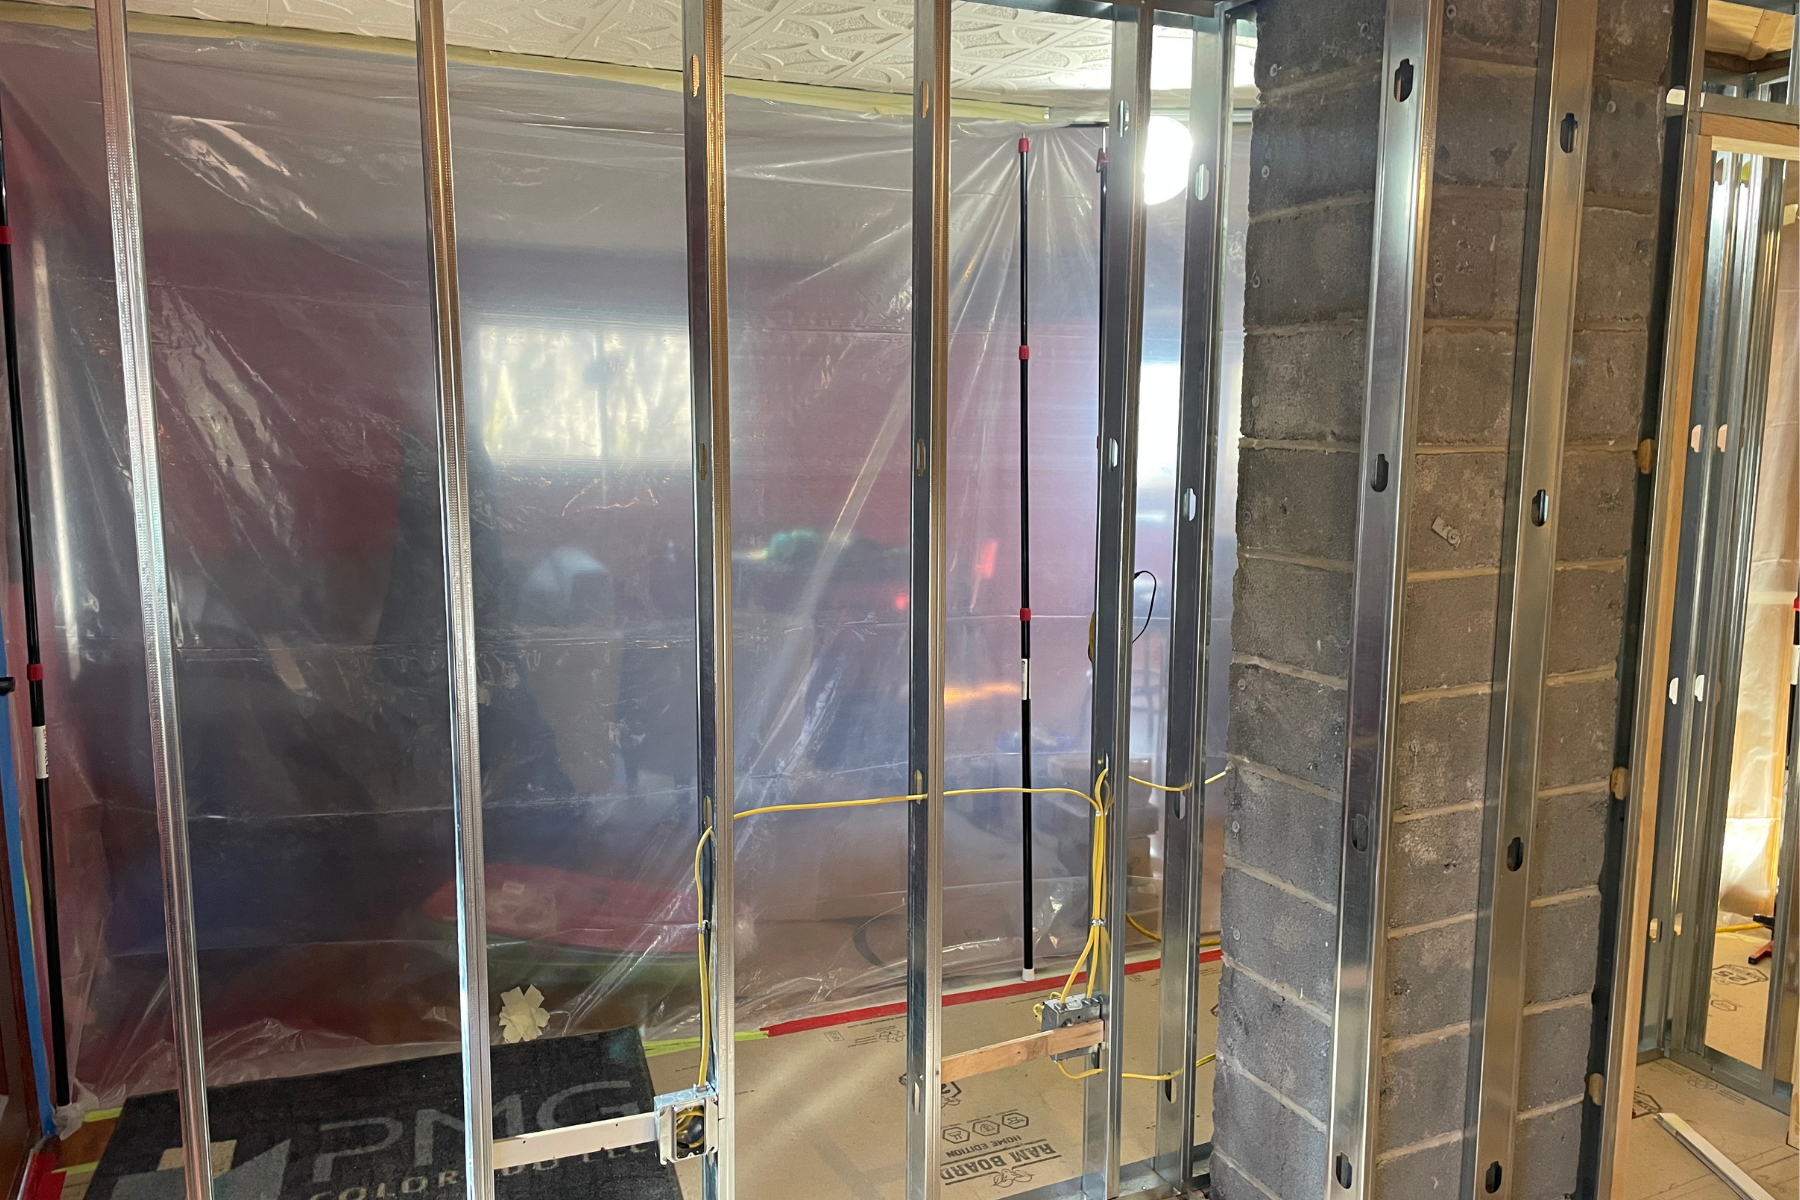
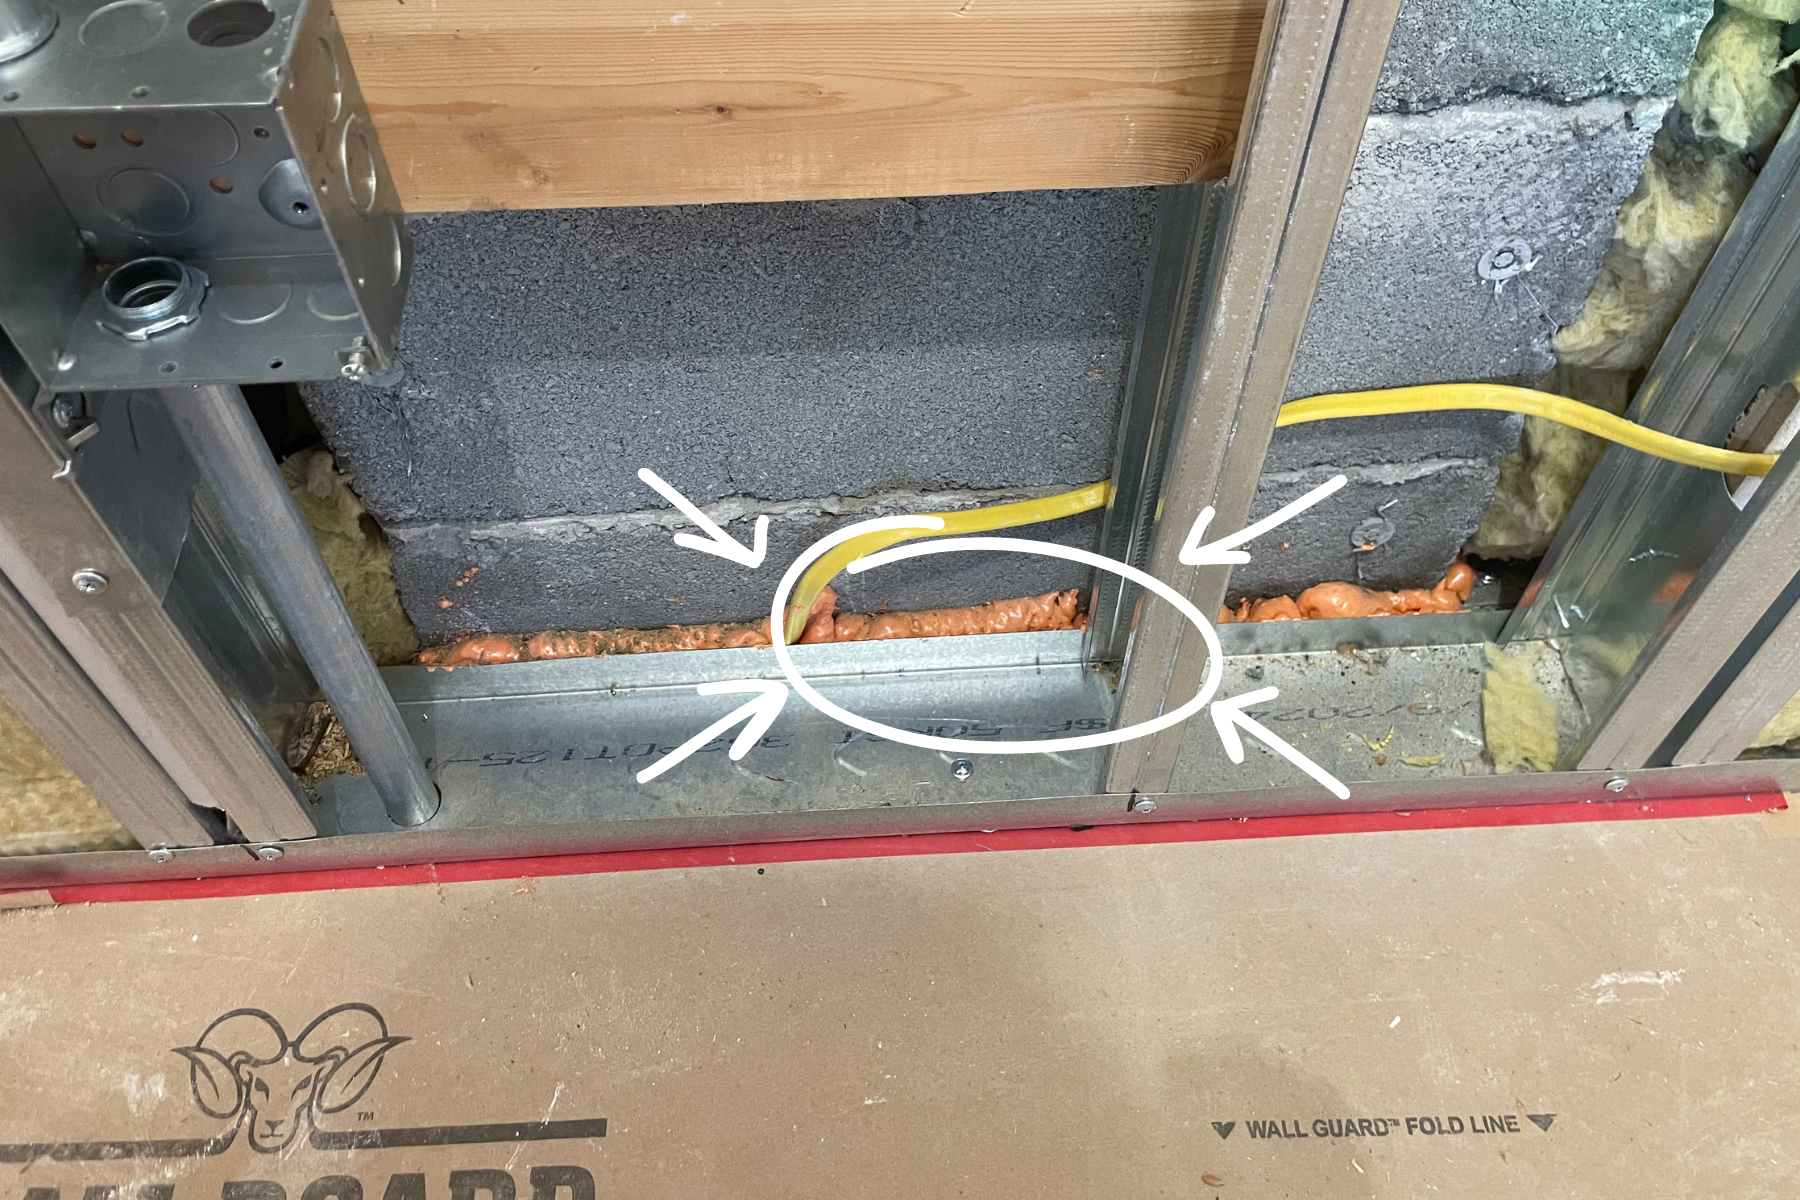
This being a kid’s bedroom addition, with an exposed, through-floor column, meant fire safety was a top priority. Along with the metal studs, using fireblock foam to seal around the column for additional fire protection. When there are gaps between floor levels, like around the columns, fire can spread through the opening, so filling any openings with fire-rated foam insulation is important to keep that from happening.
Hany and Keli wanted to insulate the new partitions to minimize sound transfer. Using a semi-rigid mineral wool insulation does double-duty by providing both sound dampening and fire-resistance.
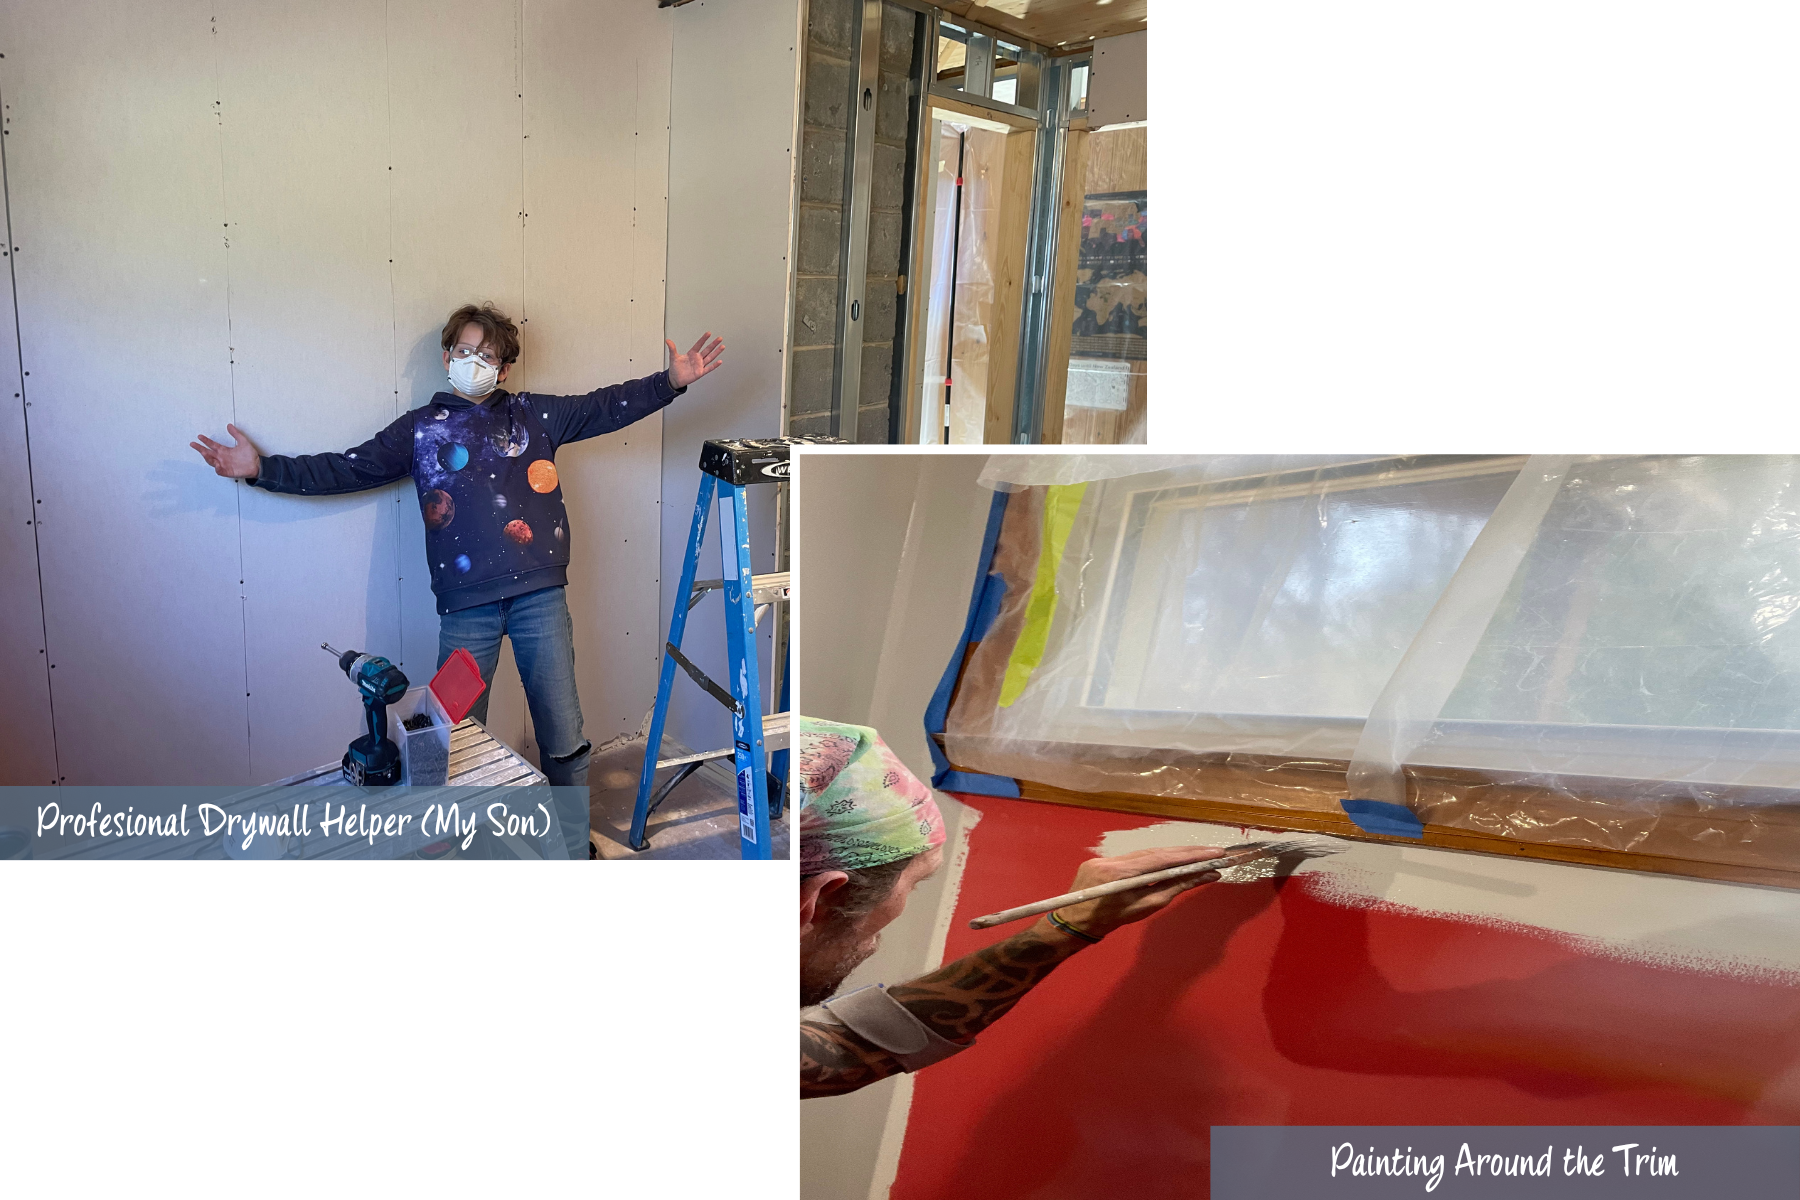
From there, it’s on to installing drywall. I had a highly experienced and professional helper for installing the drywall (my son). With our drywall in place, I was able to move on to finishing, painting, installing doors and trim, and trimming out the electrical.
The After: Adding Natural Light to Interior Space
When the painting was complete and the last step was to install the baseboards, one of those unanticipated circumstances came up. Hany & Keli realized that one of the new solid walls really made their remaining living room space feel small. What they had lost was the natural light and a feeling of openness that used to exist before the room was divided
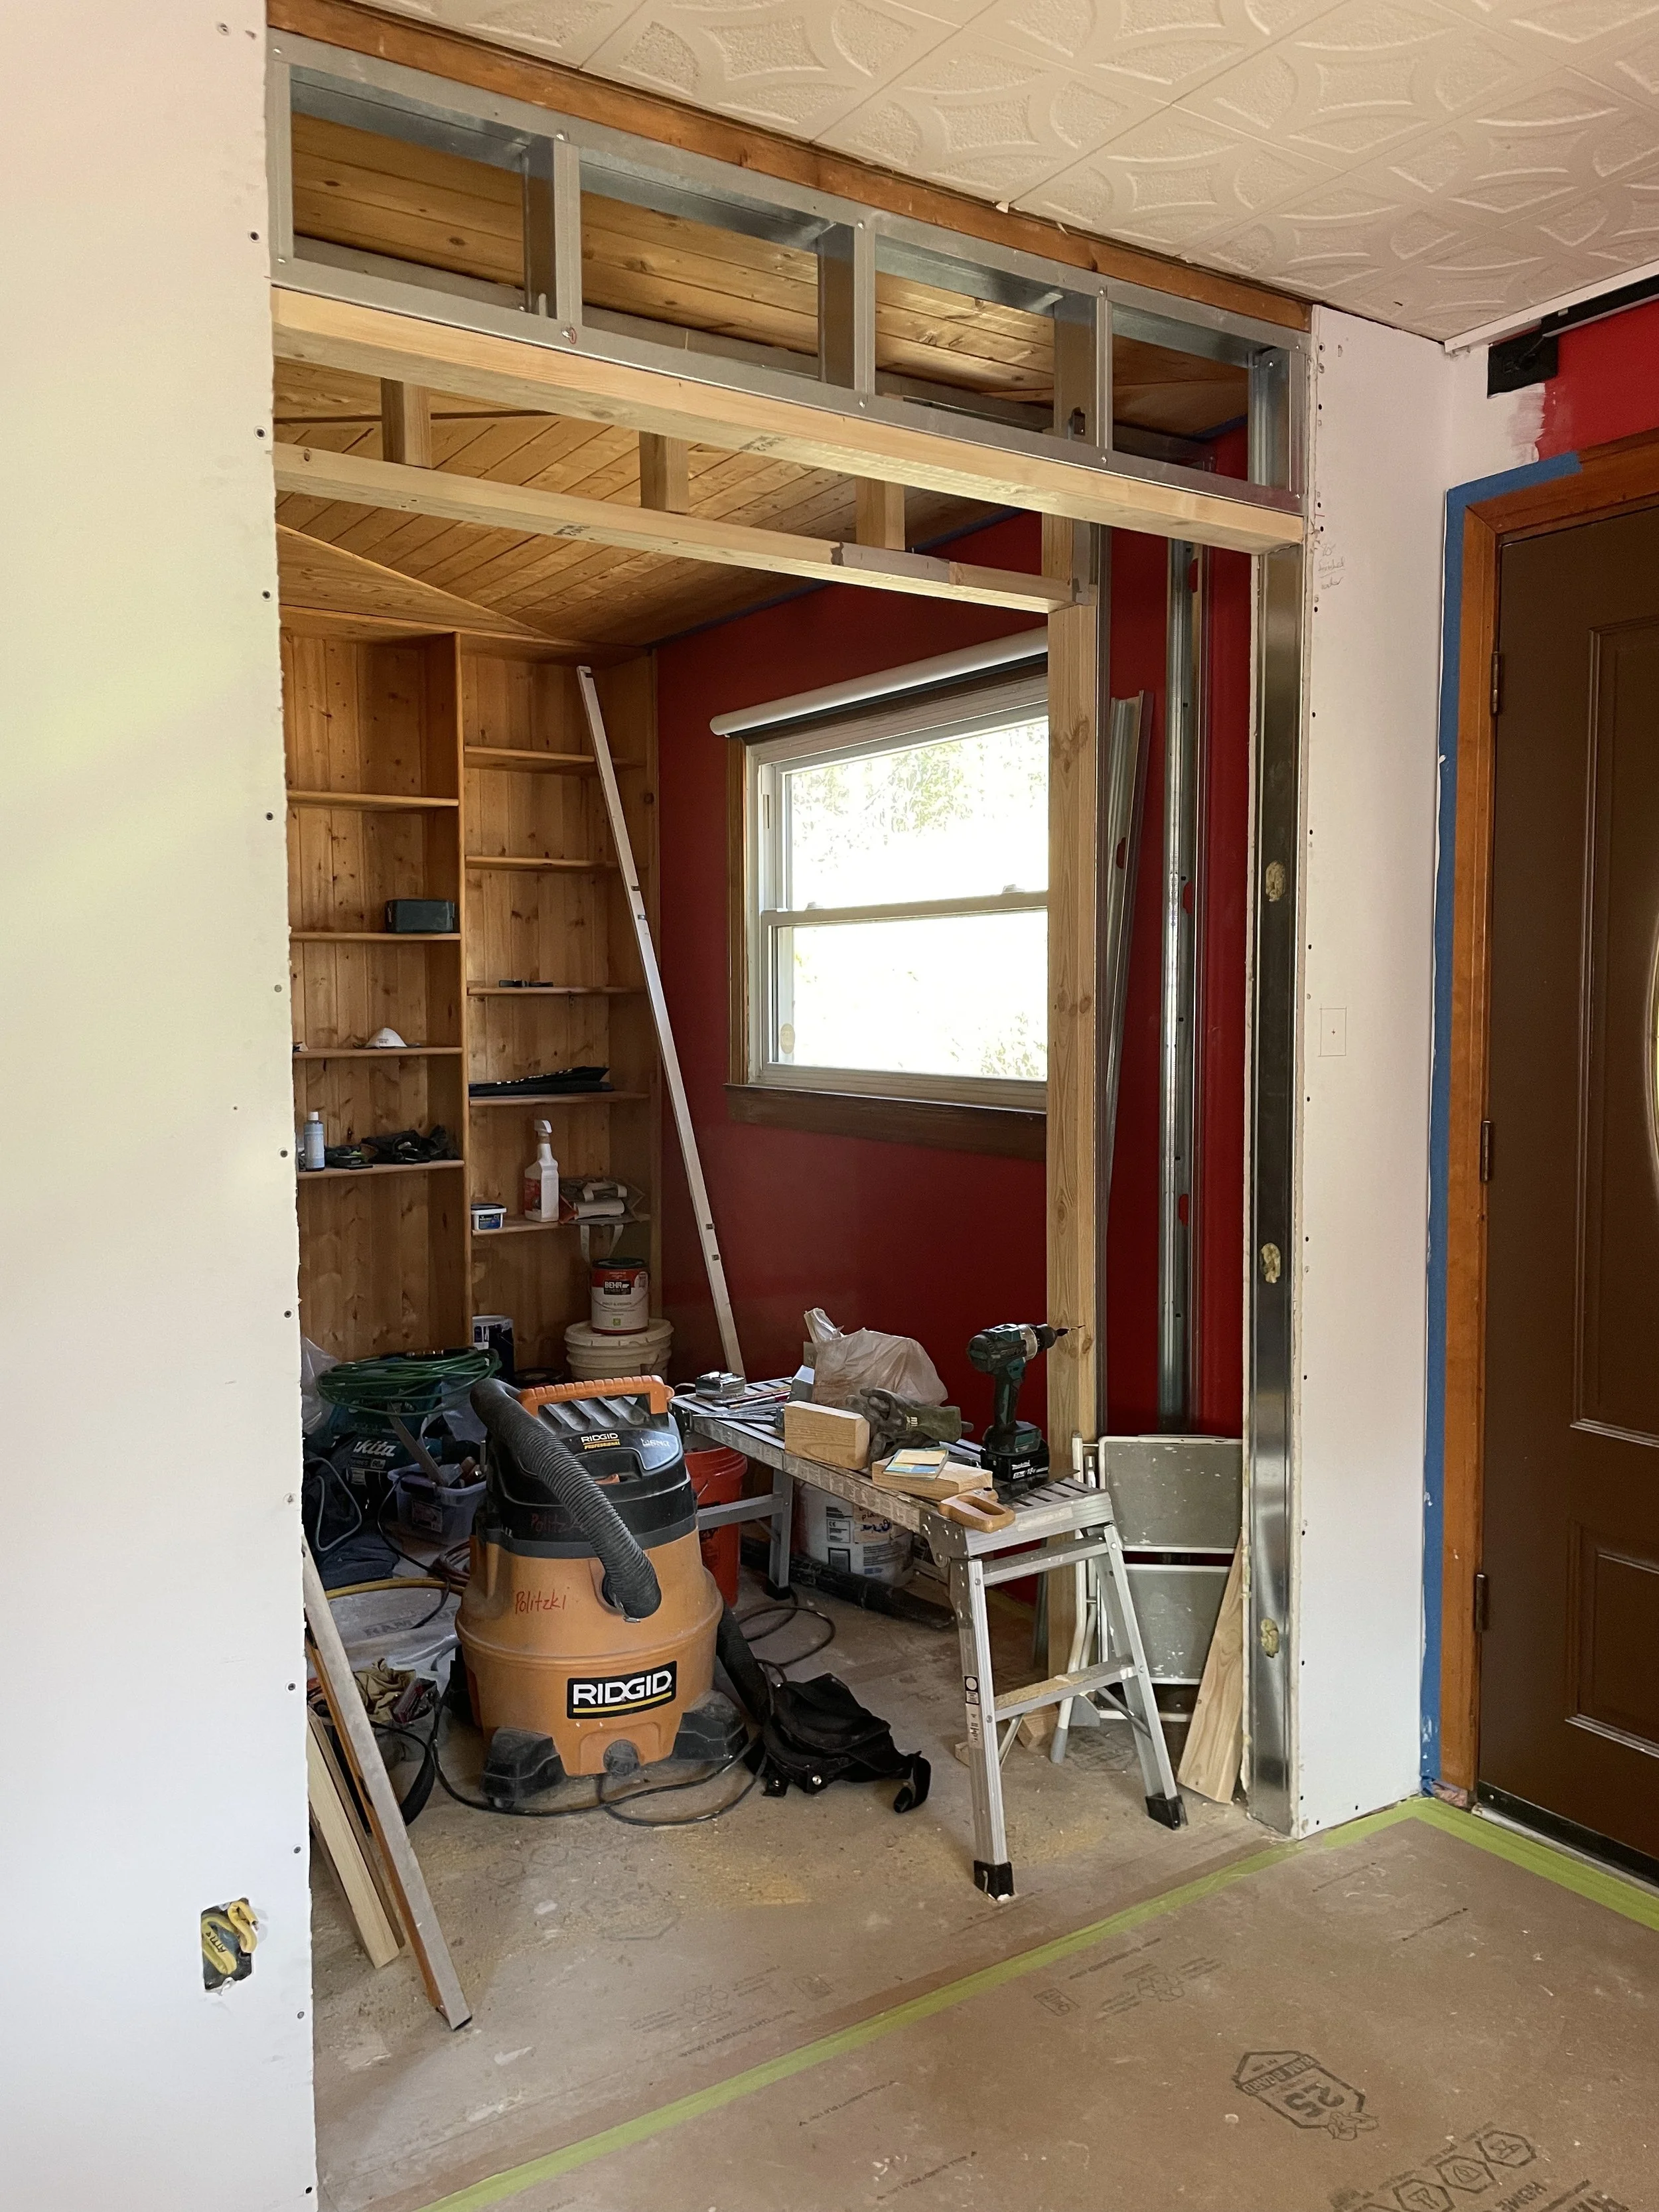
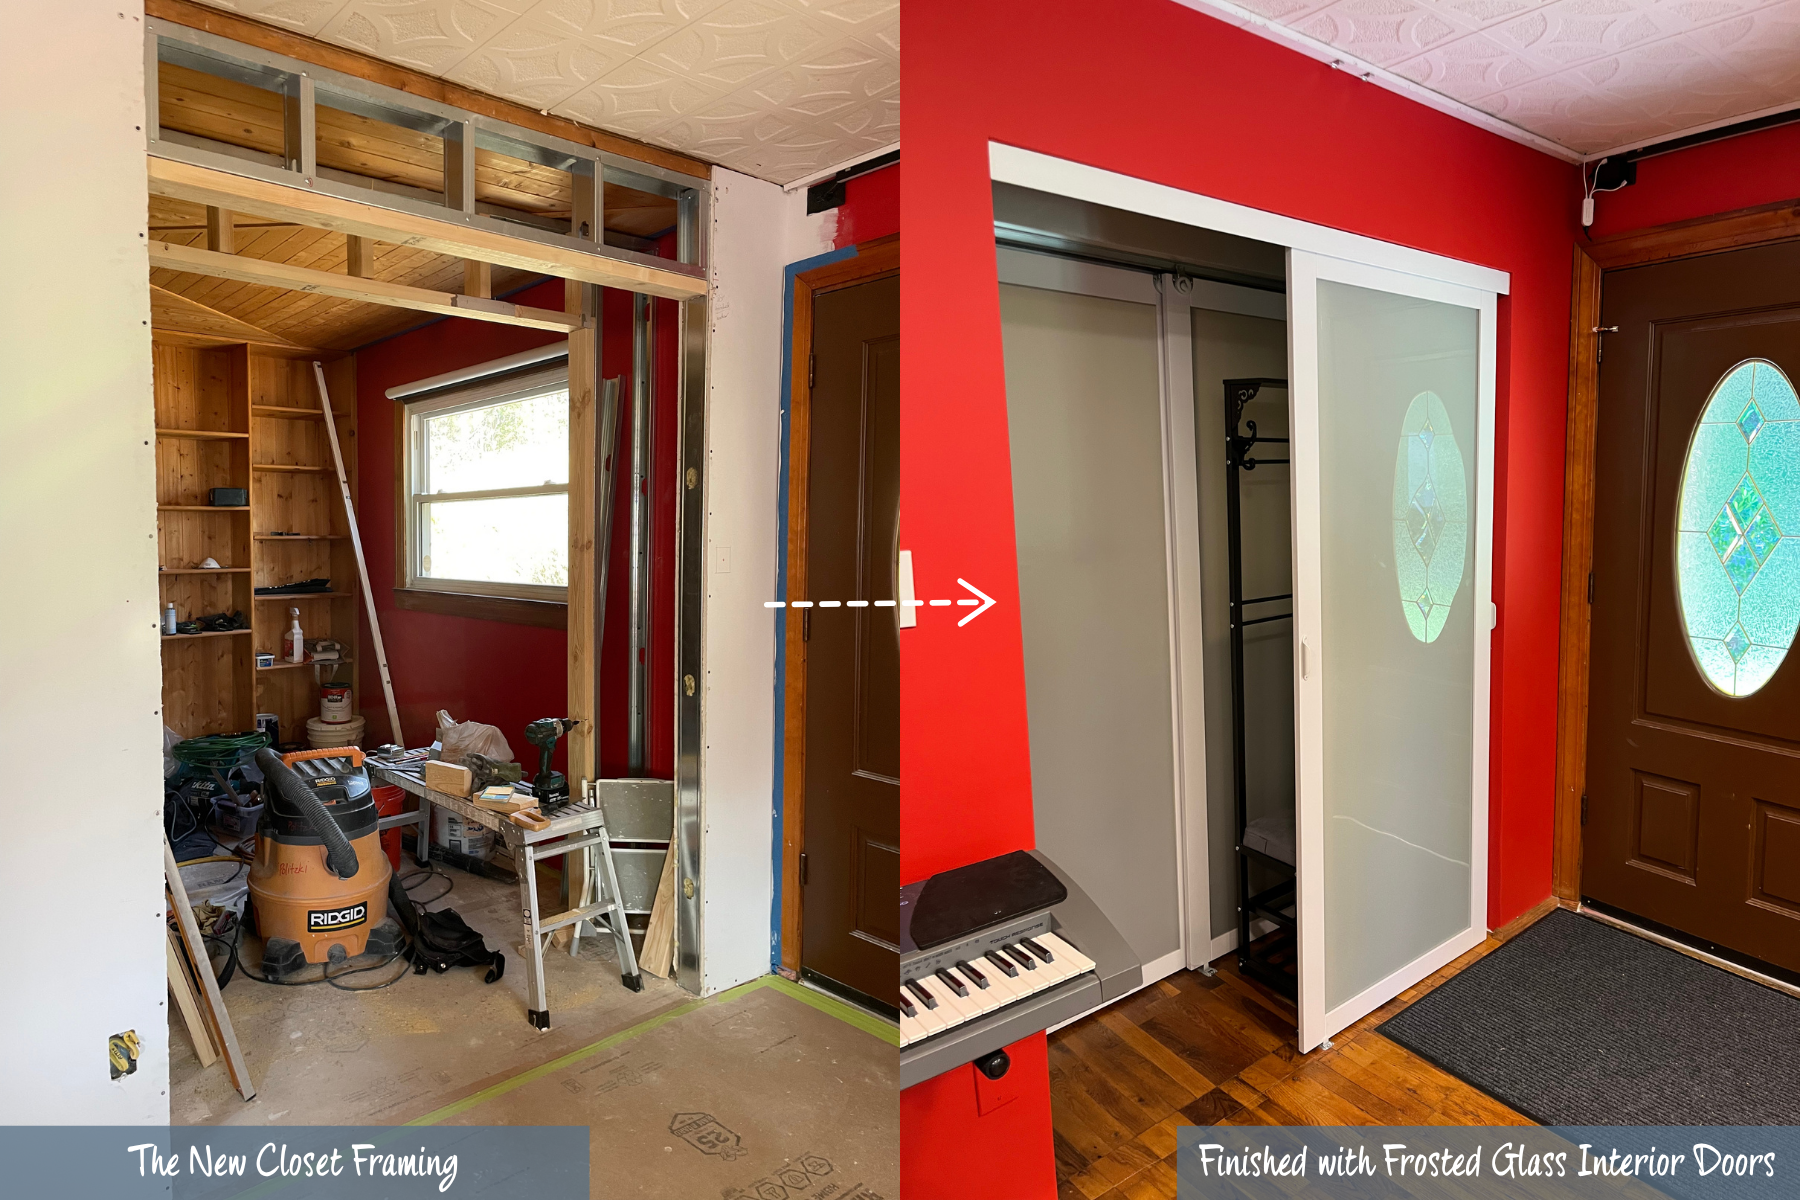
I am accustomed to changes coming up during the construction process. Rather than pushing forward with something they wouldn't be happy with, we paused to find a way to make the layout work for them.To maintain privacy in the new bedroom, but allow light to move through the space and make it feel more open, we decided to add a closet with frosted glass interior doors on both sides.
I was able to get started on it pretty quickly. They picked out and ordered the doors they wanted, and I set to work demoing the fresh drywall and framing the new openings. Because of this layout change, we ended up moving a light switch to a new location. That left a hole in the newly painted wall.
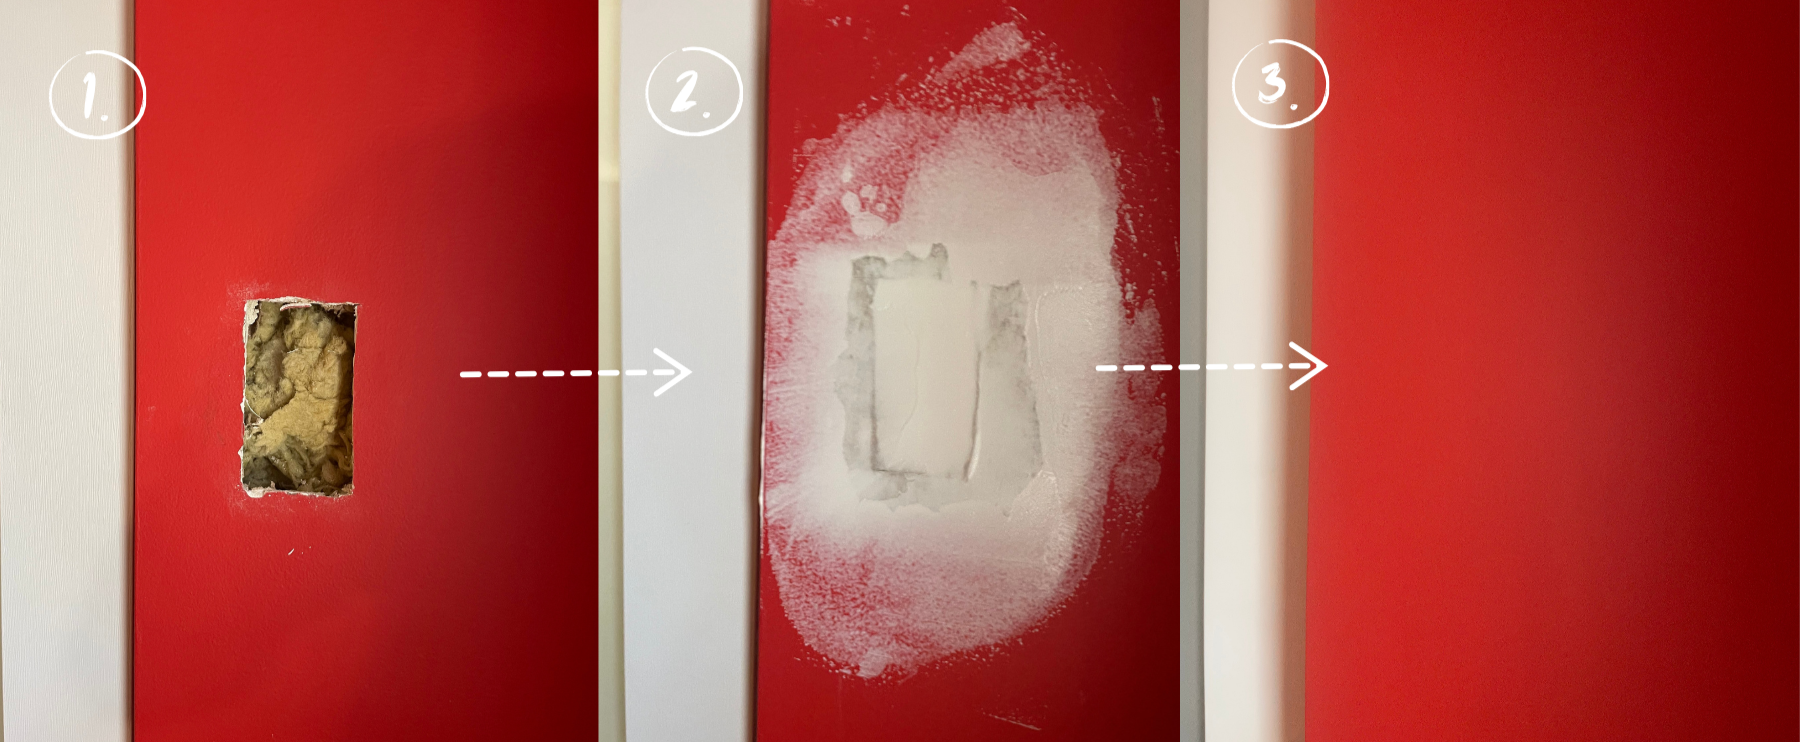
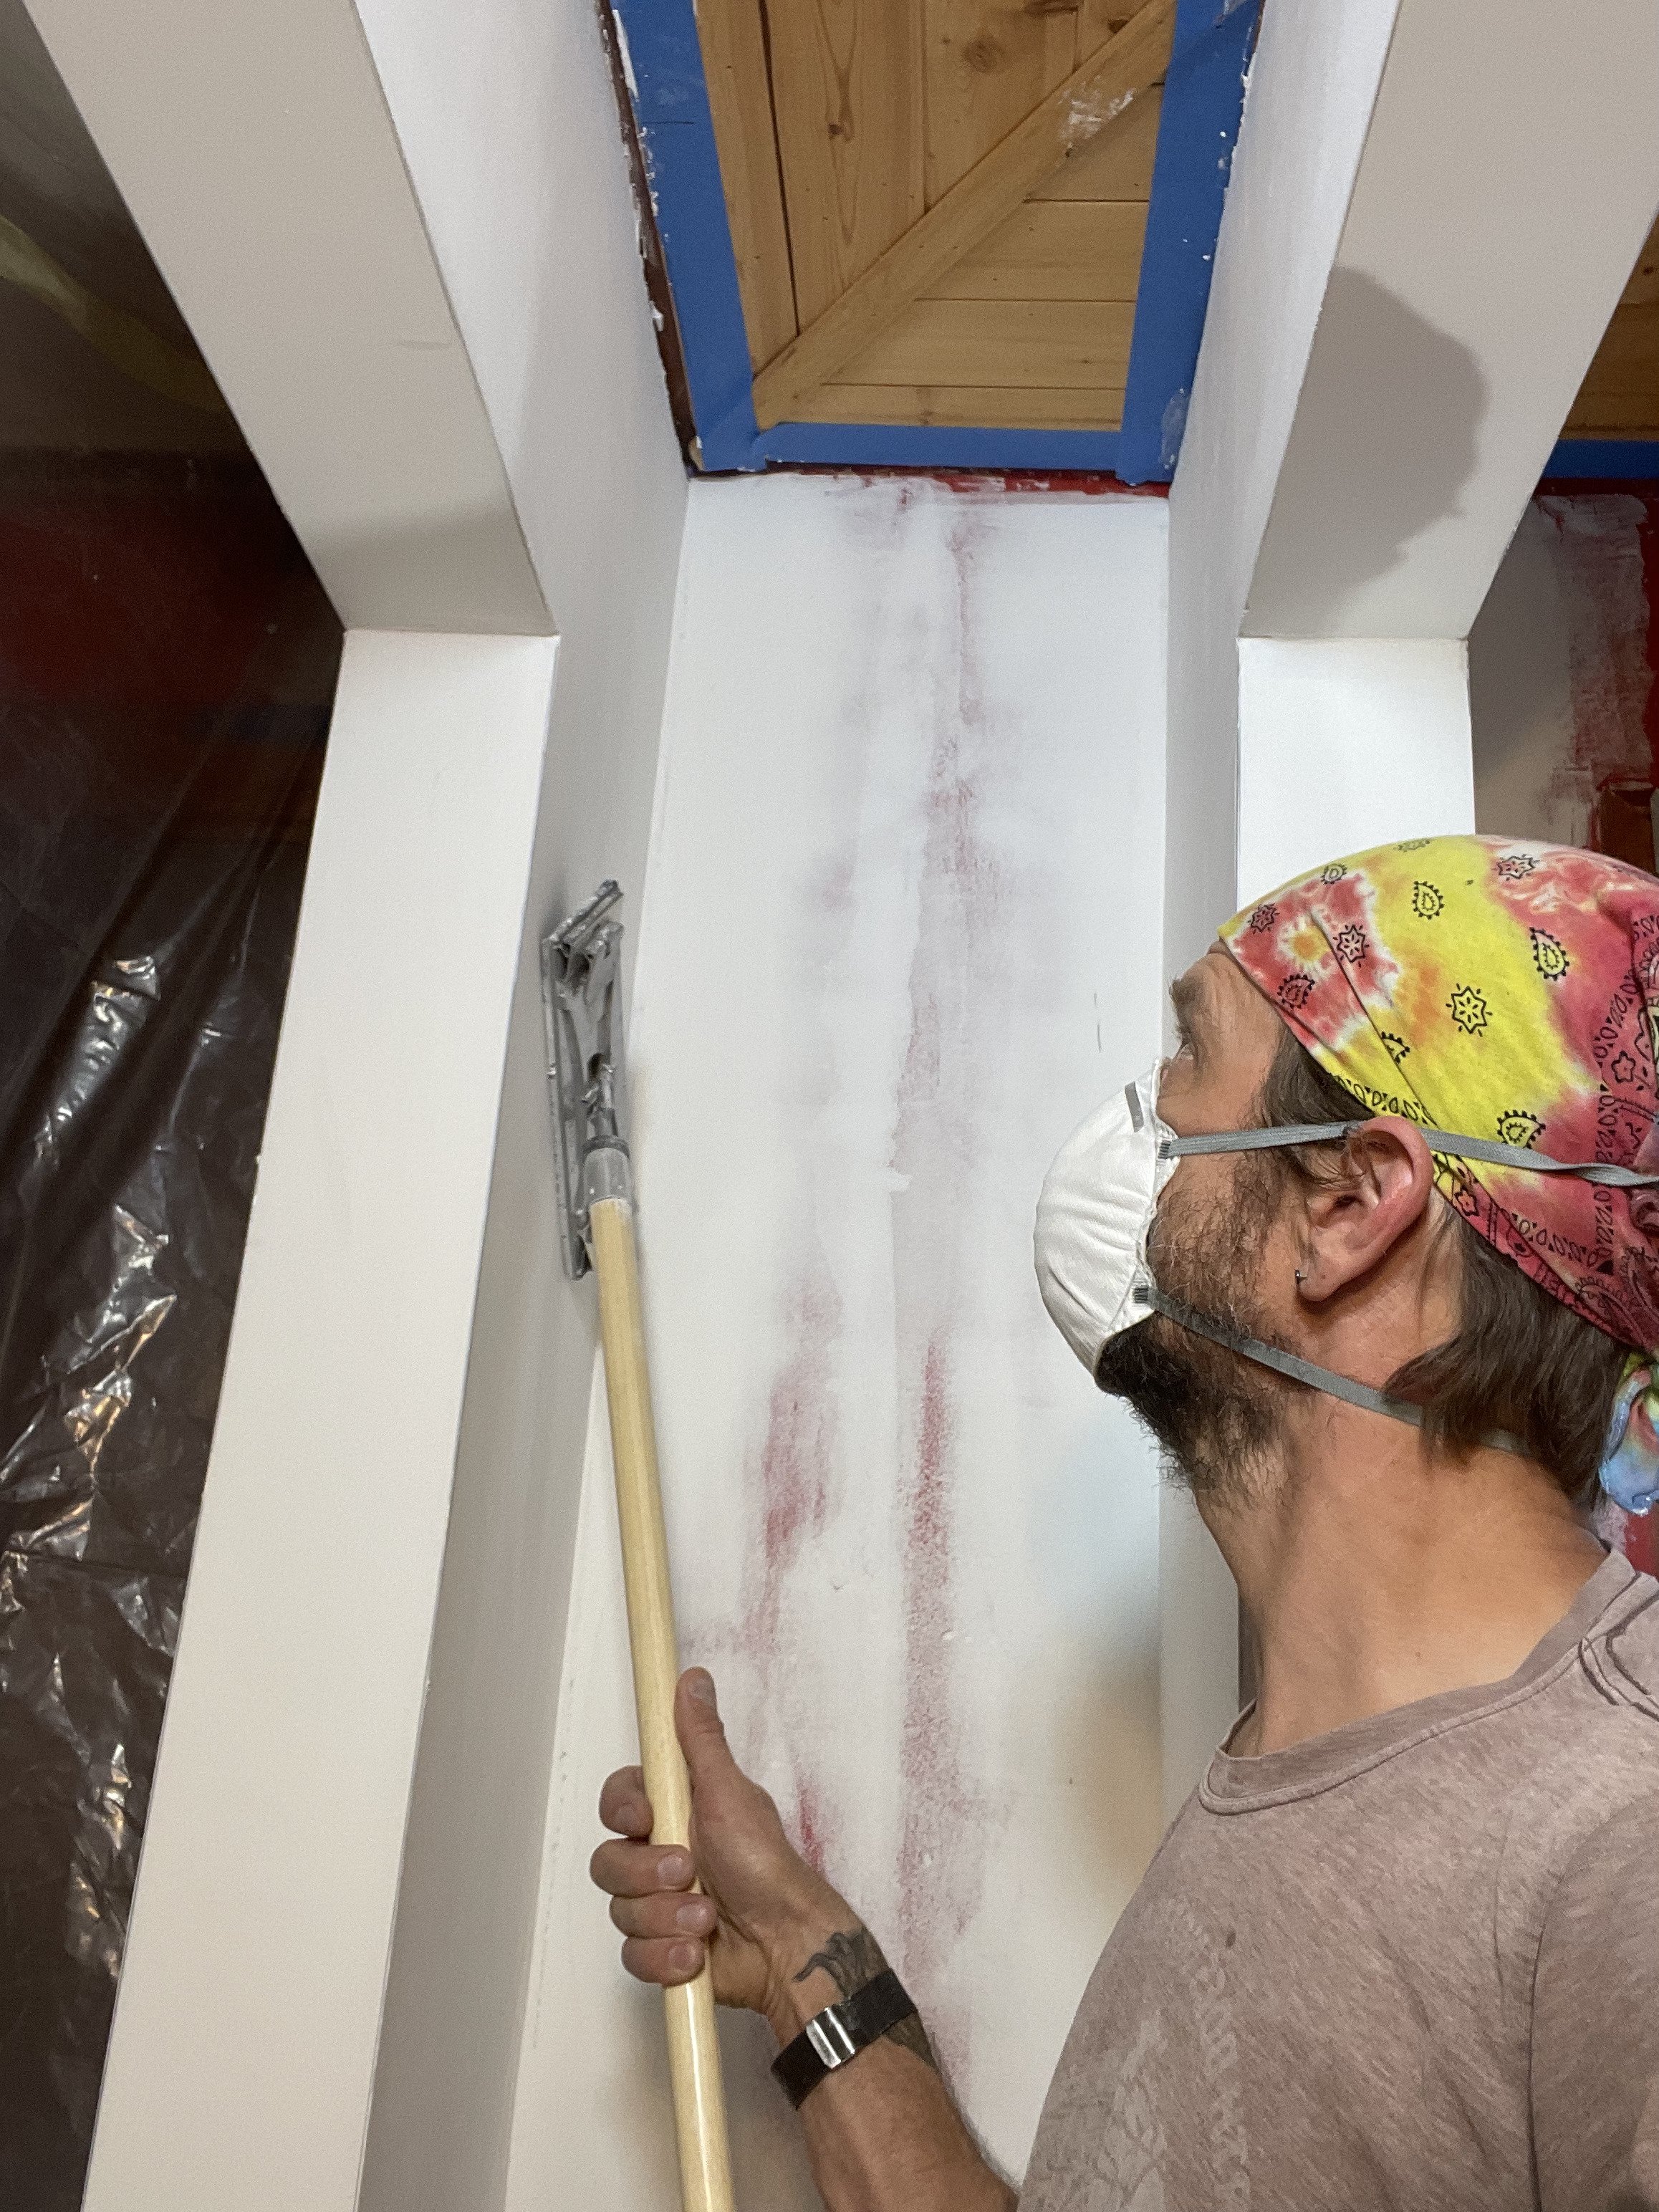
To fix it, I used a California drywall patch. I learned this type of repair when I was working as a superintendent on tenant finish projects in my early 20’s, working alongside some highly skilled craftsmen. It is just one technique for patching drywall, but the repair was simple, skillfully done, and provided a seamless drywall repair that blended perfectly with the surrounding wall.
Balancing Budget & Time When Changes Come Up
Creating a bedroom addition is always a balancing act. With every project, I aim to be budget and time considerate, while making sure the final result actually serves the people living in it. On this project, we were able to find that balance, and be adaptable when things needed to change.
Hany was kind enough to leave a review that illustrates the whole process from the client perspective: “It is so hard to find someone who checks all the boxes, and Nick is that person! He's experienced, creative, reasonably priced, and honest beyond words! He has worked on many projects for us over the years, from building a deck, to framing a new room, to adding a roof, to installing sinks - and we're so grateful to see his touches and improvements everywhere we go.”
If your family's needs are changing and you need to adapt your home to fit them, please contact Politzki Services today to discuss how we can work together.